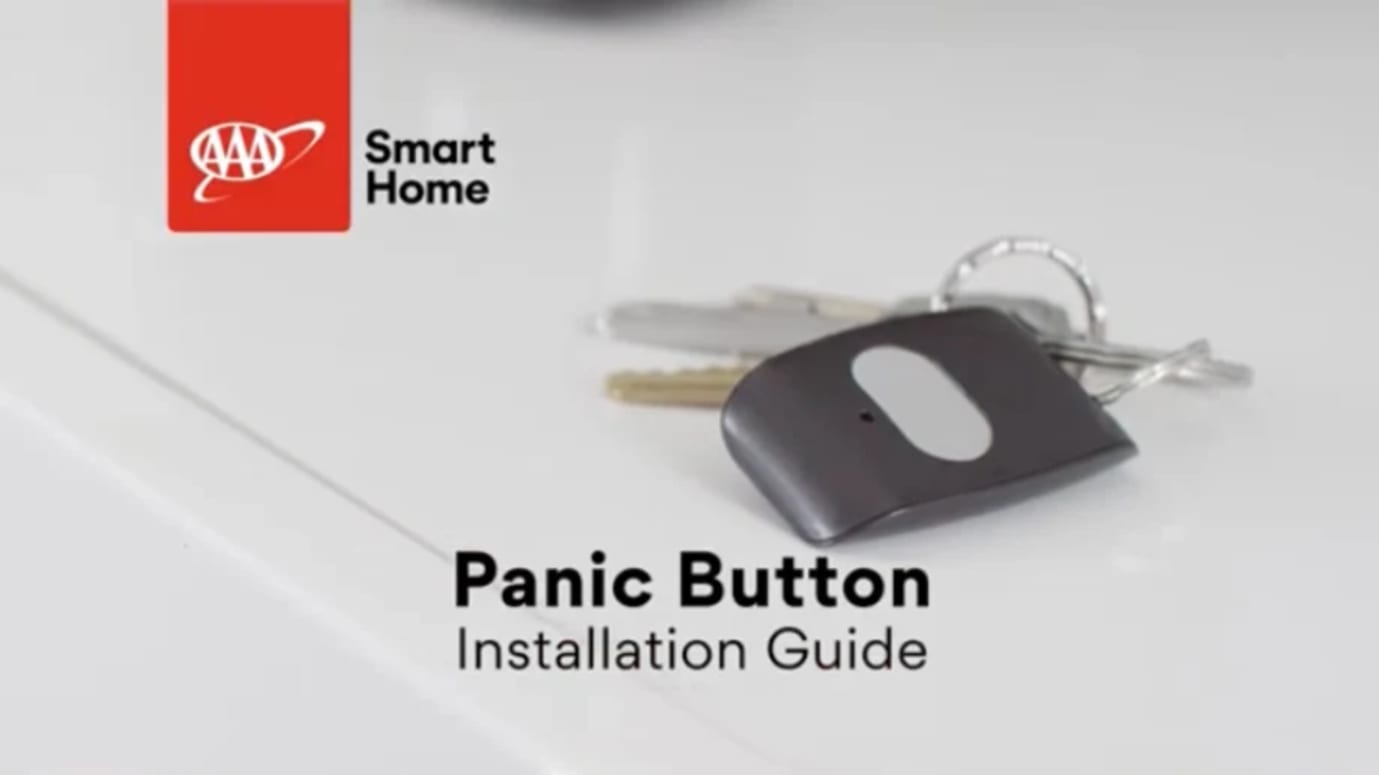
Installing Your Panic Button
Medical Panic Button Install Guide PDF
When pressed within range of your panel, the panic button alerts your system to dispatch medical, fire, or police first responders in case of an emergency.
The device is water-resistant, and is equipped with a 2-second activation delay to help reduce false alarms.
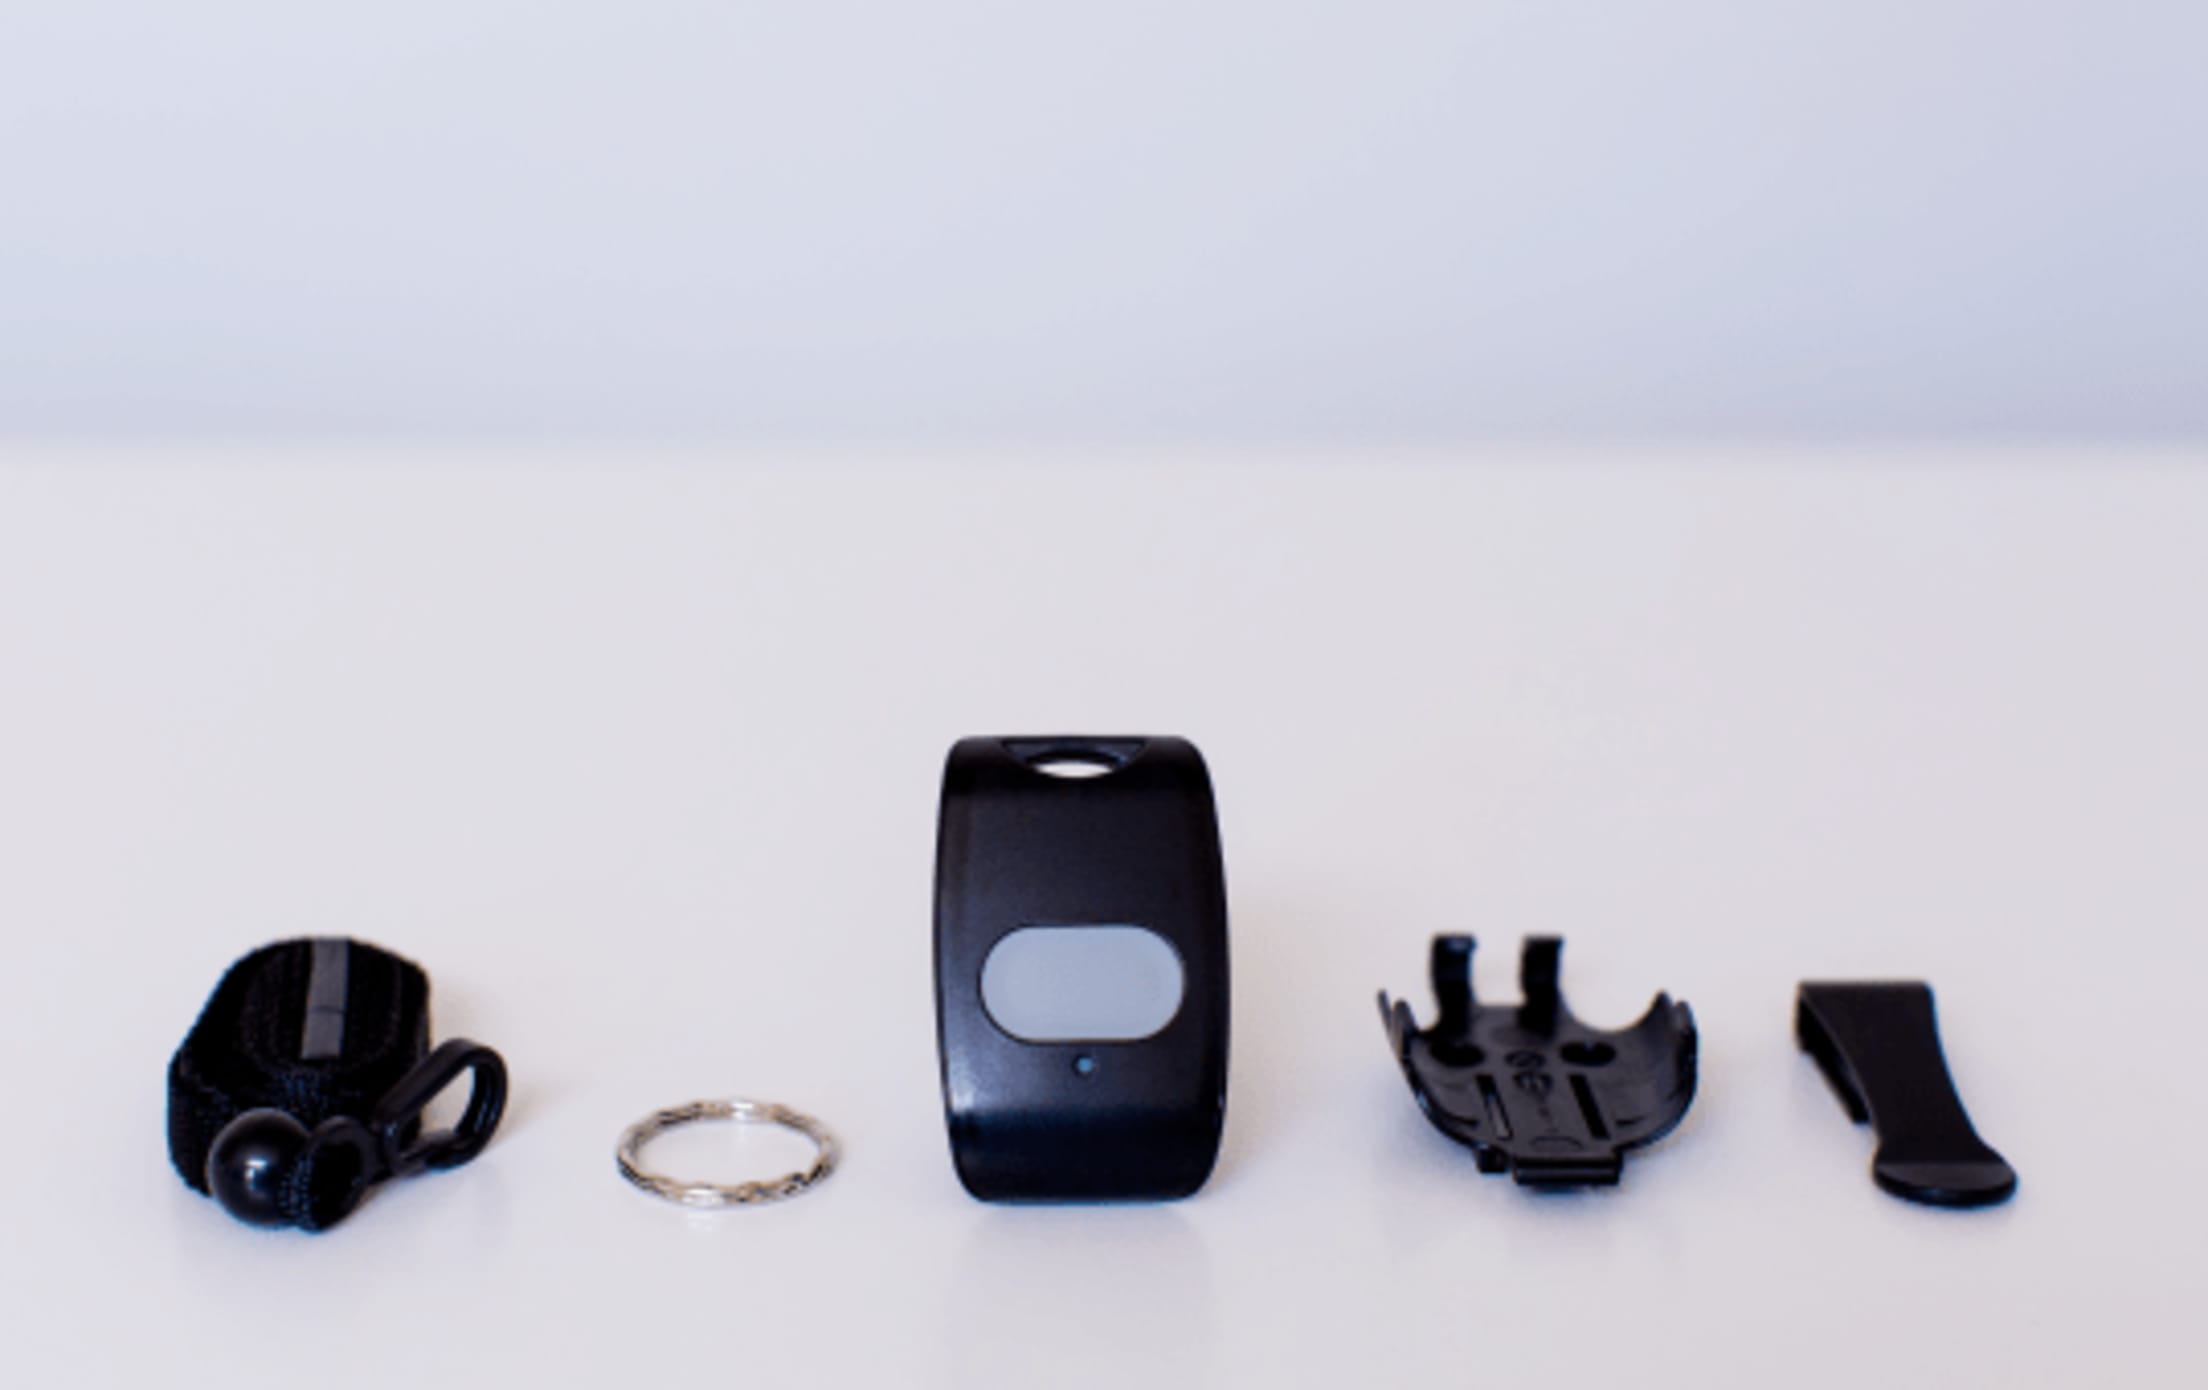
Installation Parts
- Medical panic button device
- Lithium batteries (included inside)
- Device holder
- Belt clip
- Keychain loop
Tools you’ll need (if mounting holder to a surface)
- Phillips screwdriver
- Two #4 ⅝-inch screws
Choosing a location
The panic button can be:
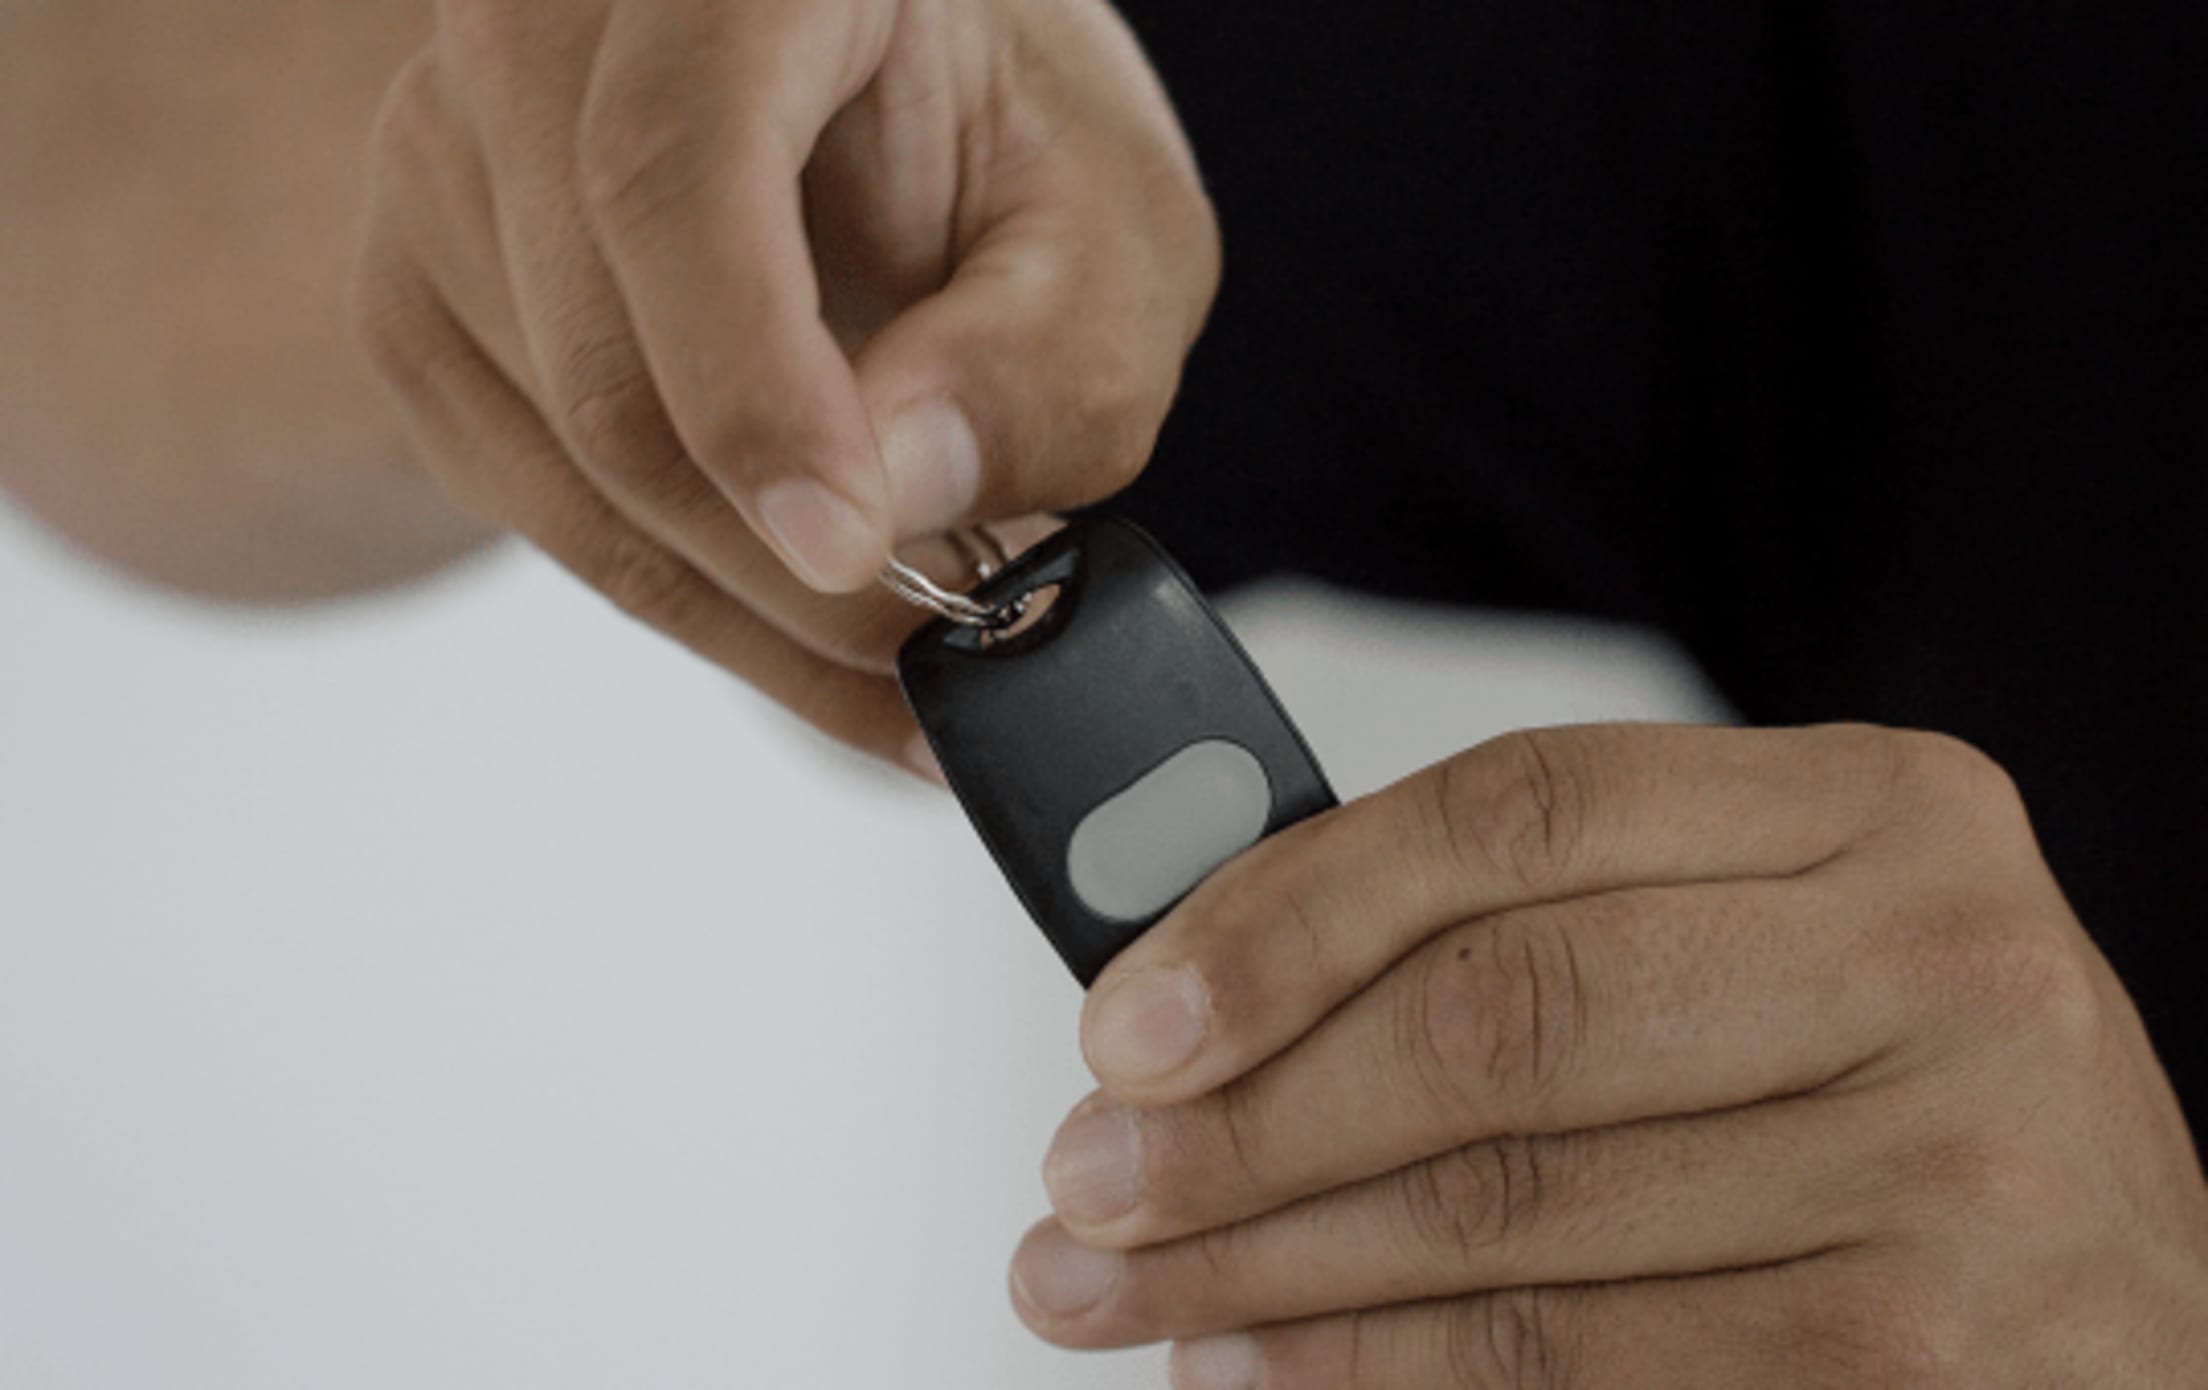
- Carried in a keychain
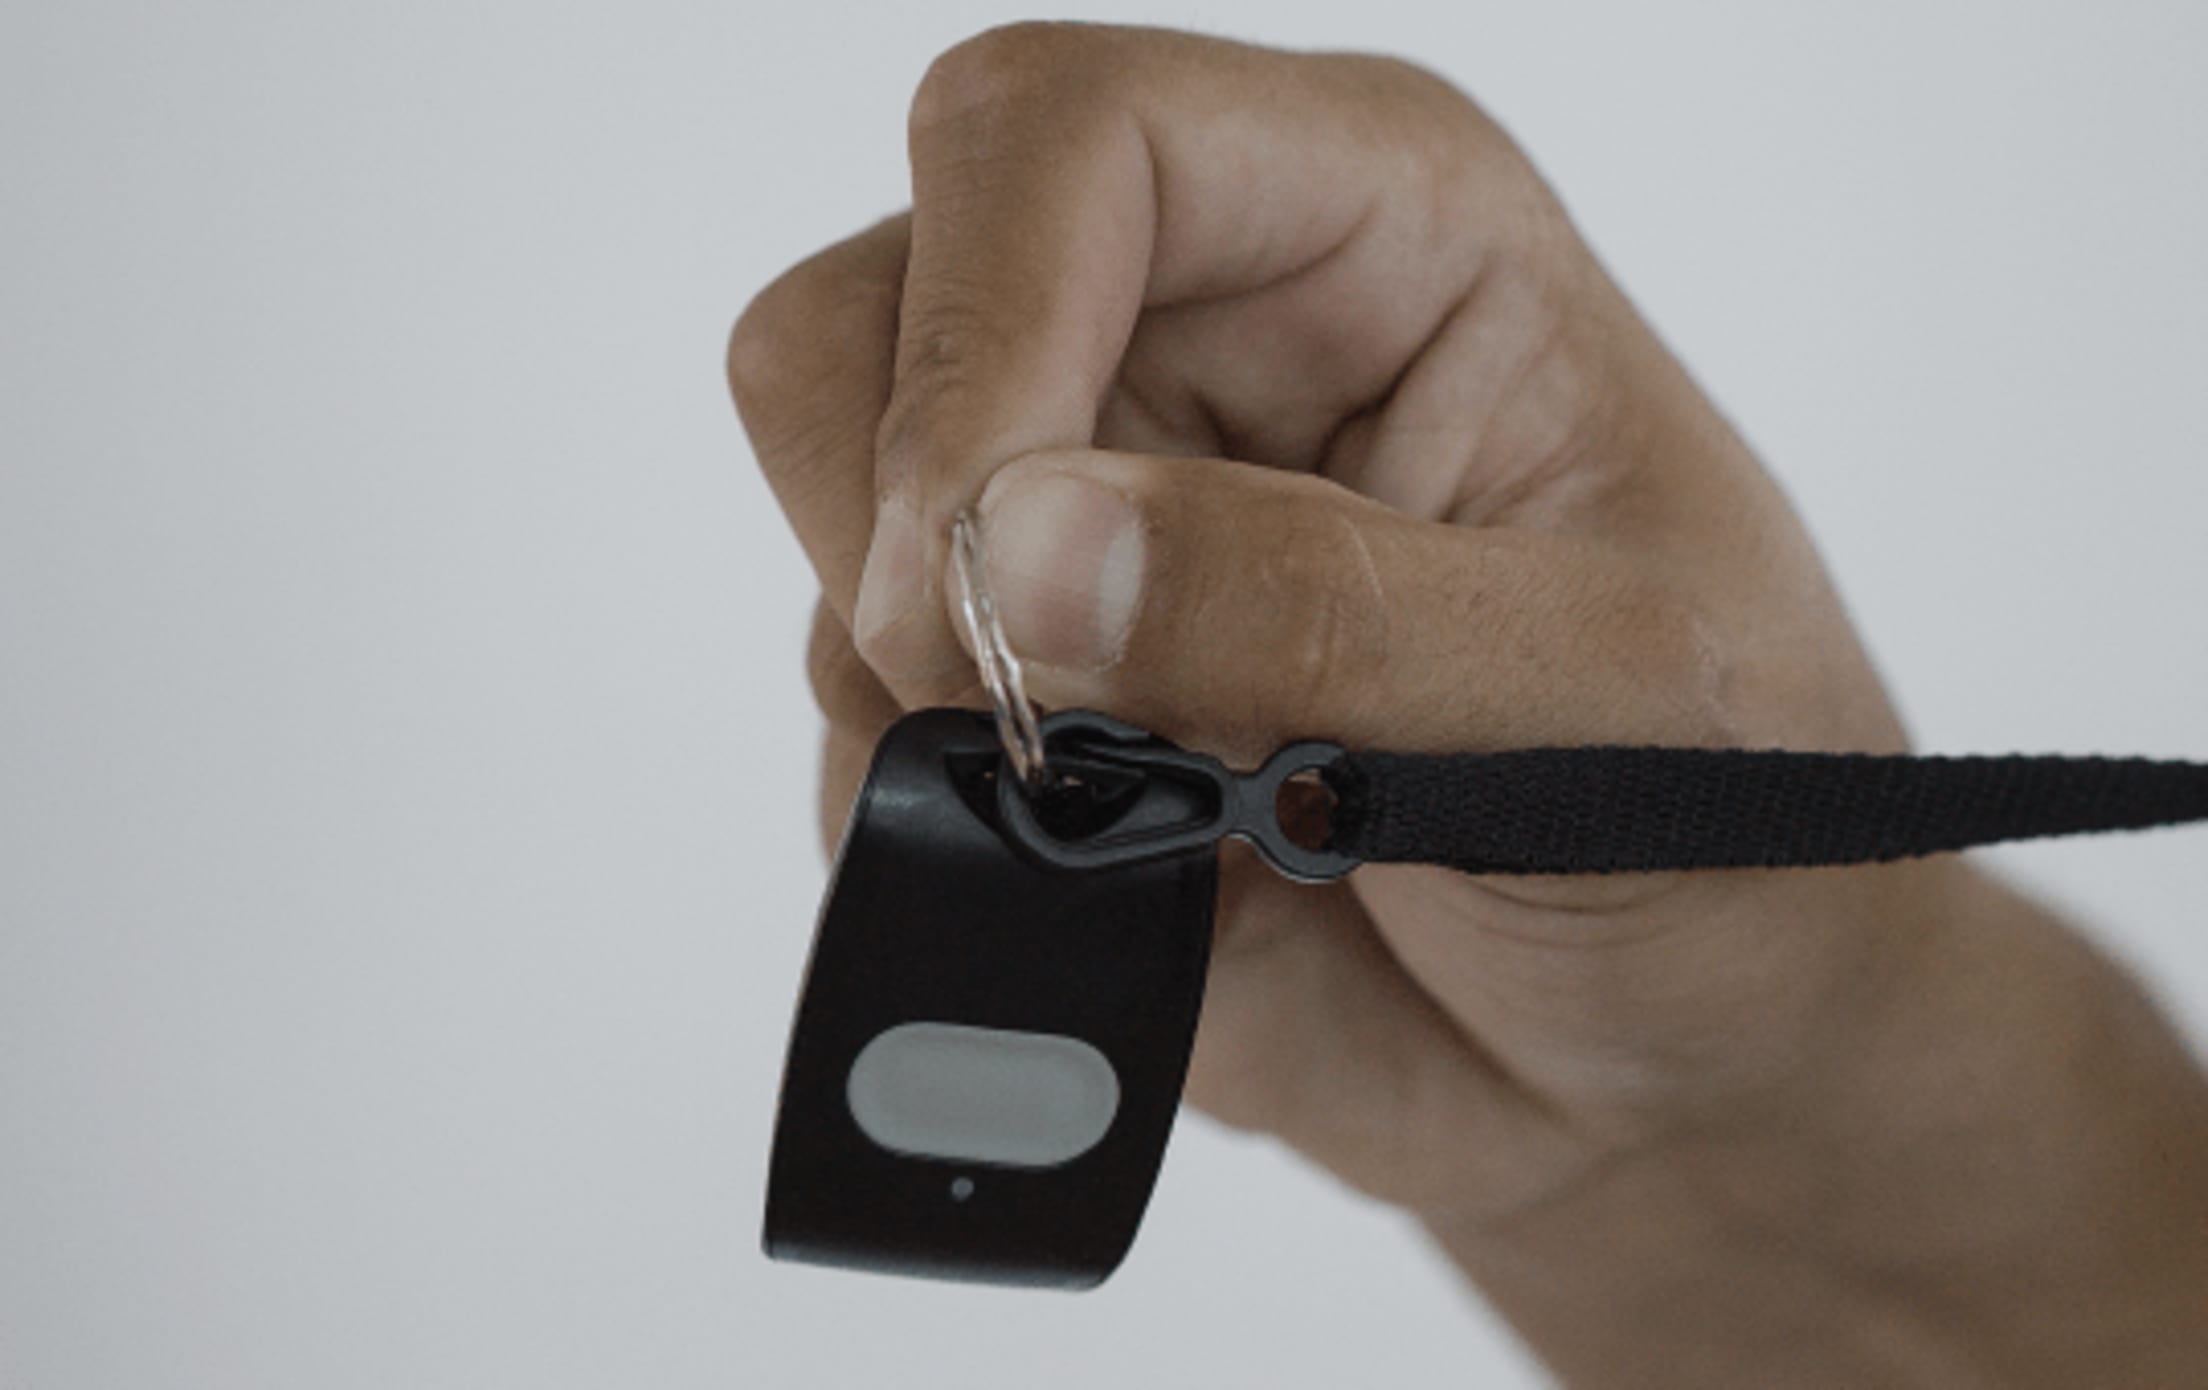
- Worn as a pendant around the neck
- Worn on a belt, by attaching the holder to a belt clip
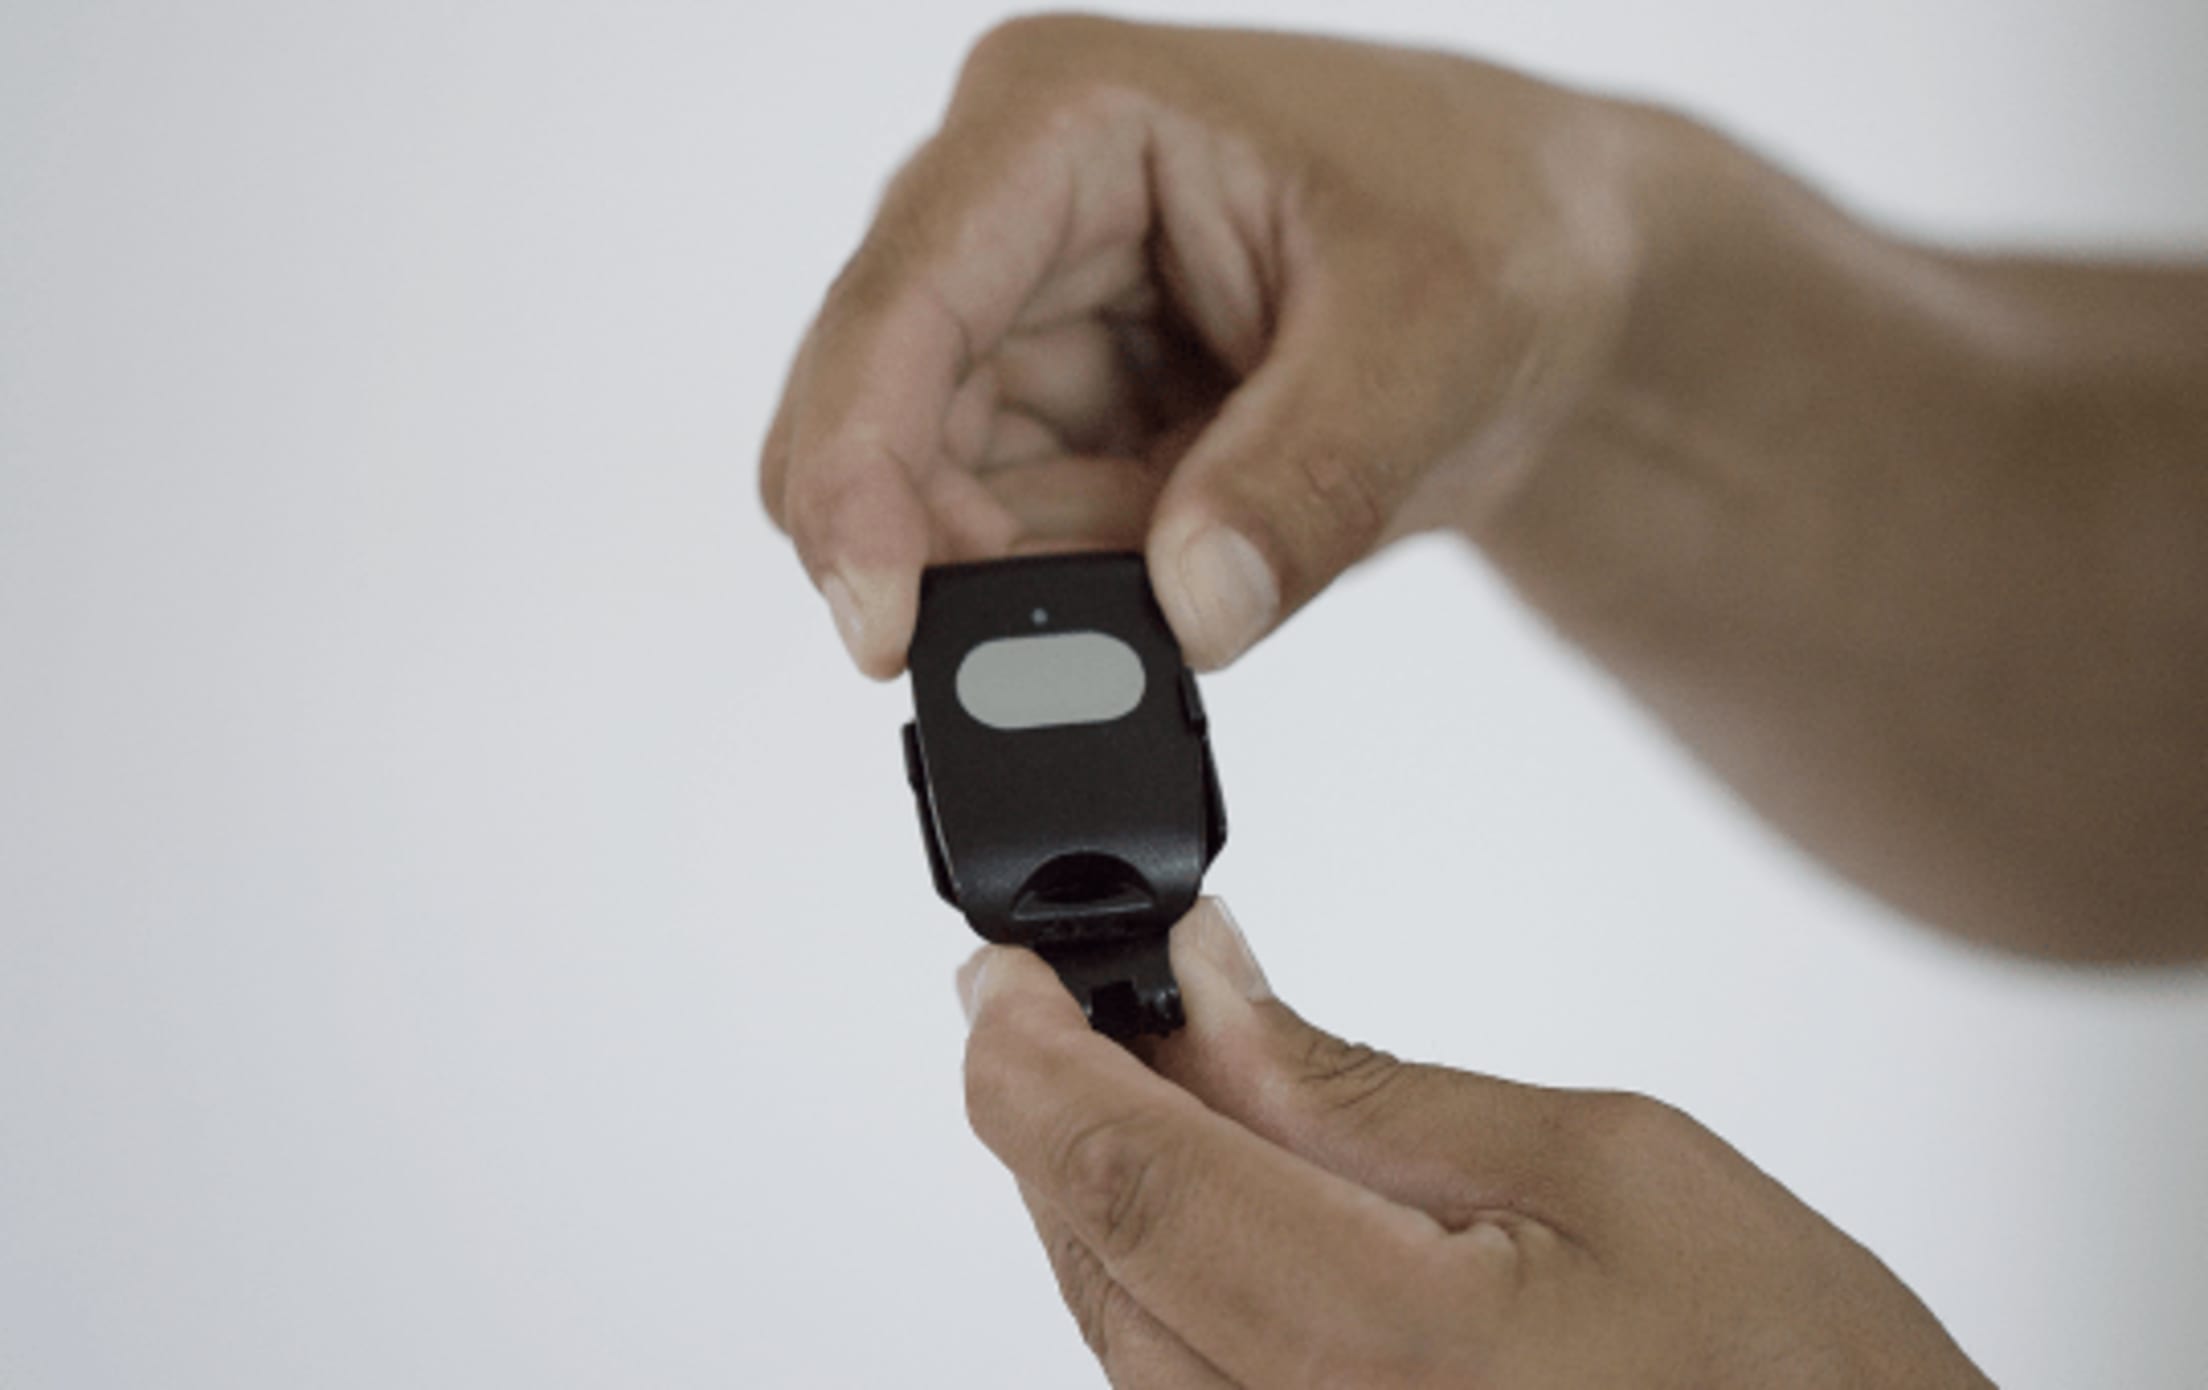
- Mounted to a surface using the holder
Installation Instructions
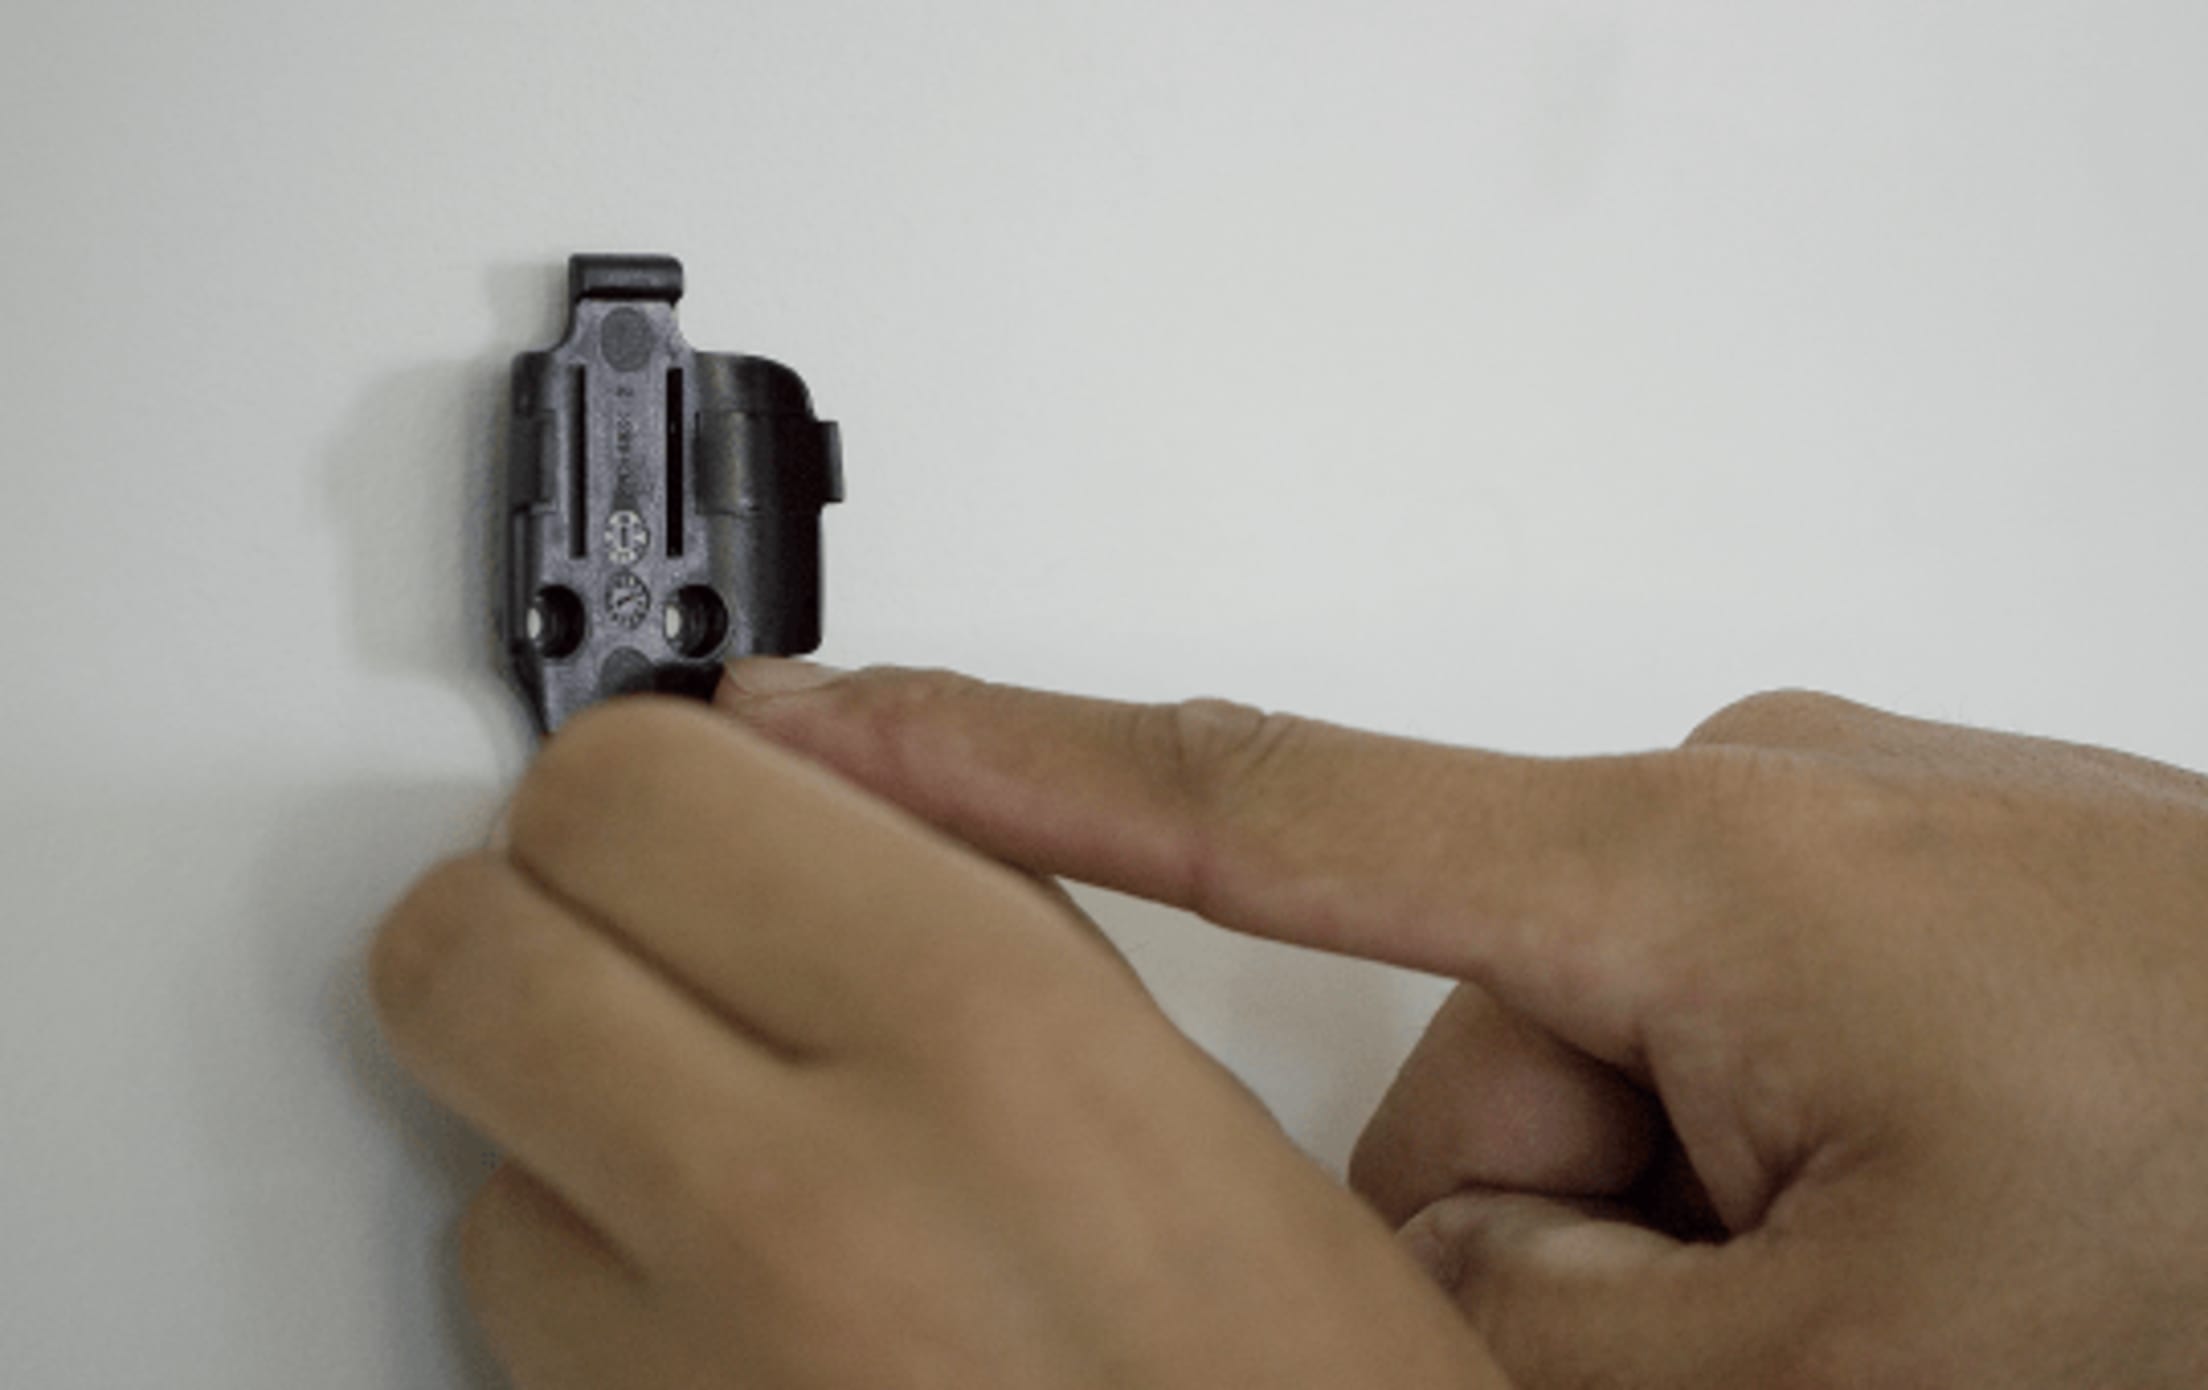
If you’re mounting to a surface, place the holder against your chosen surface (see photo above) and use two screws to secure the holder.
Then, slide the device into the holder until you feel it snap securely inside.
Installing additional security devices?
Click on the icon of your chosen device(s) below. Otherwise, go on to configuring your panel settings.
Other Device Install Guides
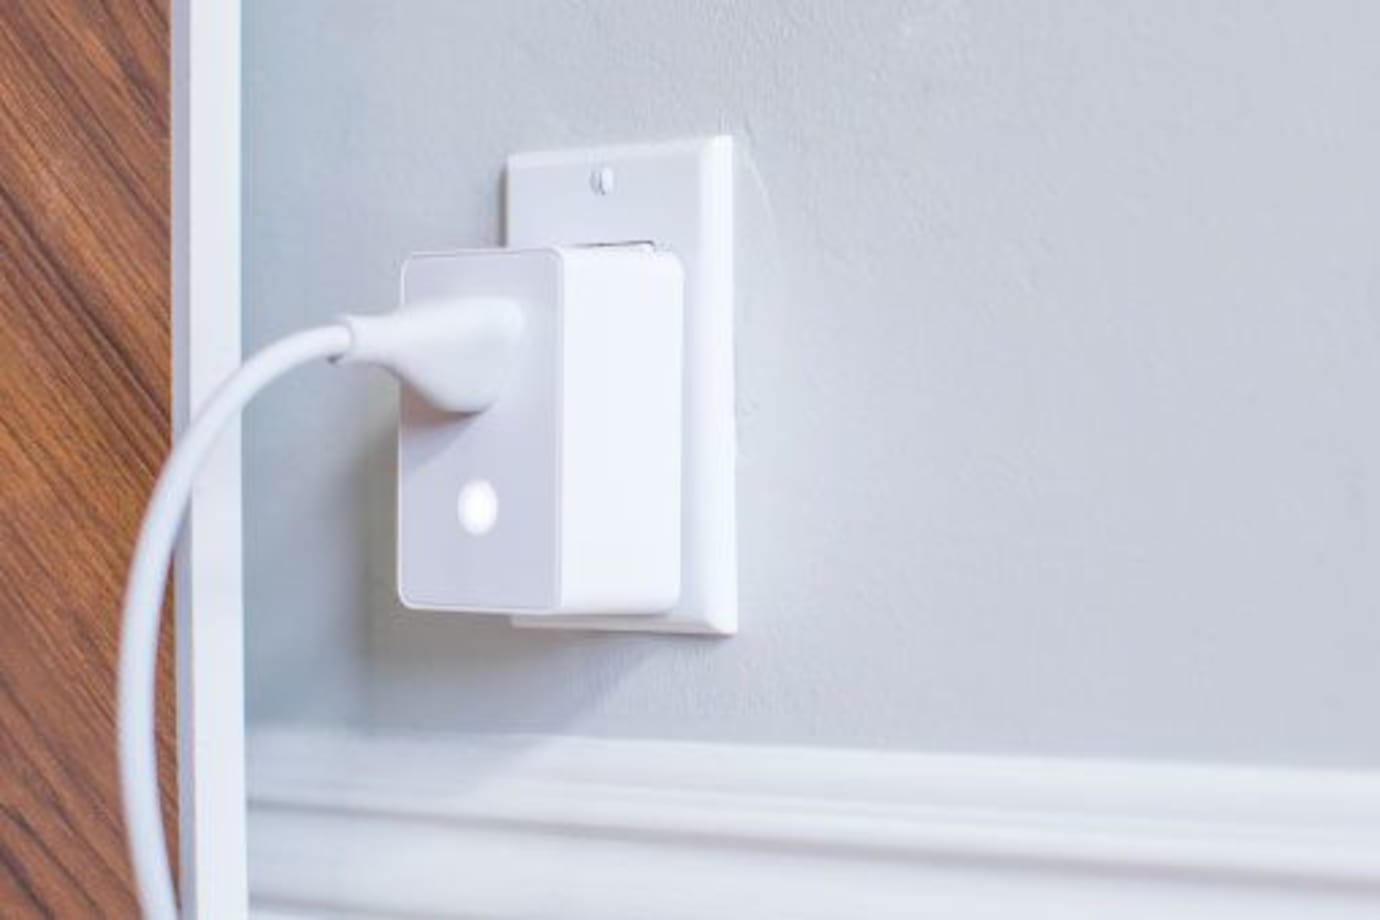
Your Lamp Plug lets you turn a lamp on and off, or dim it (if the lamp has a dimming bulb), using your control panel or mobile app. It plugs into any standard outlet.
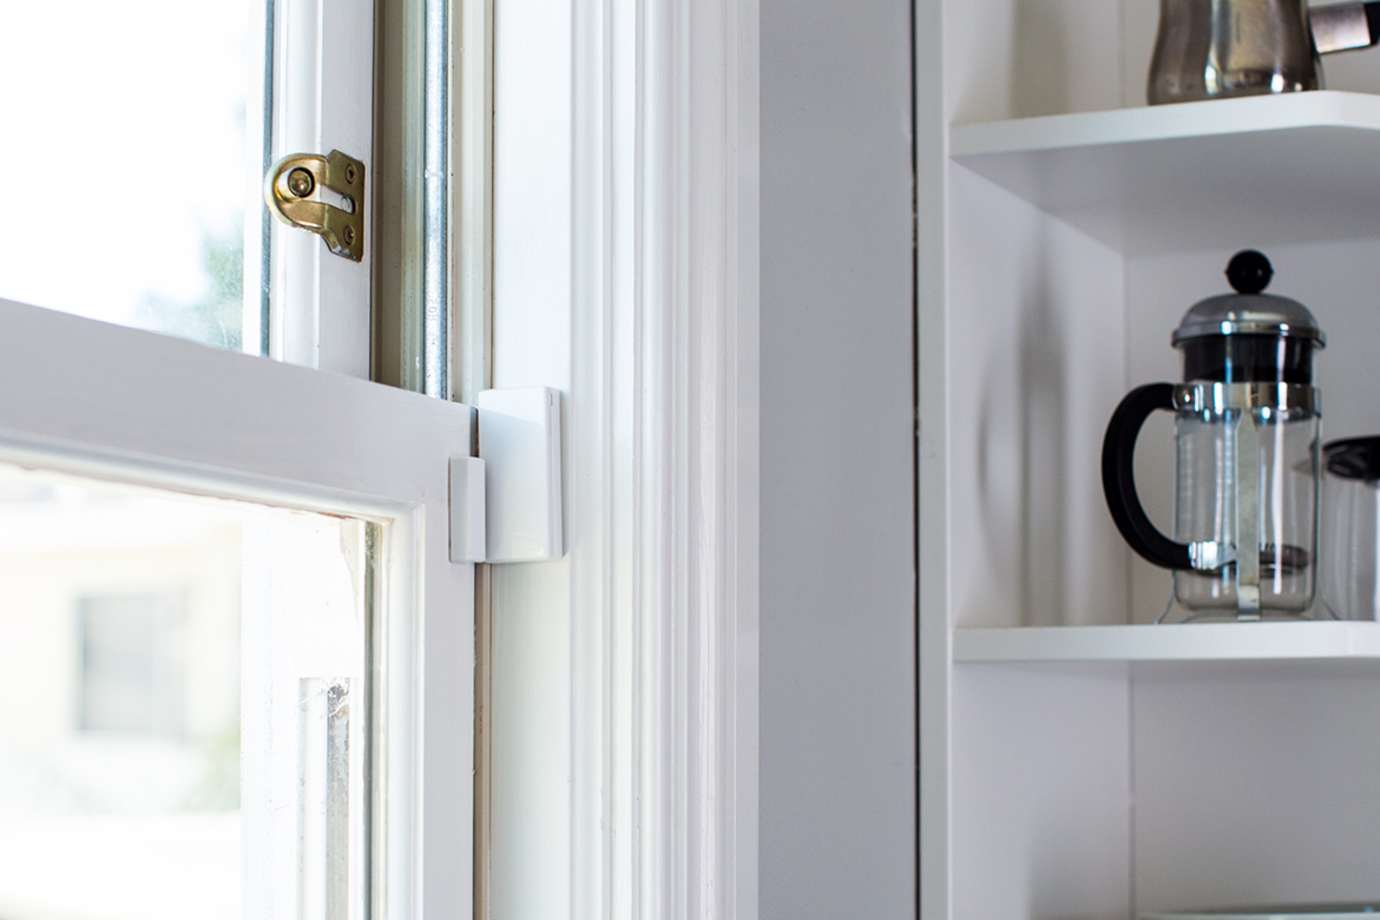
Entry sensors help protect your home's main entry points by alerting you when a door or window are open
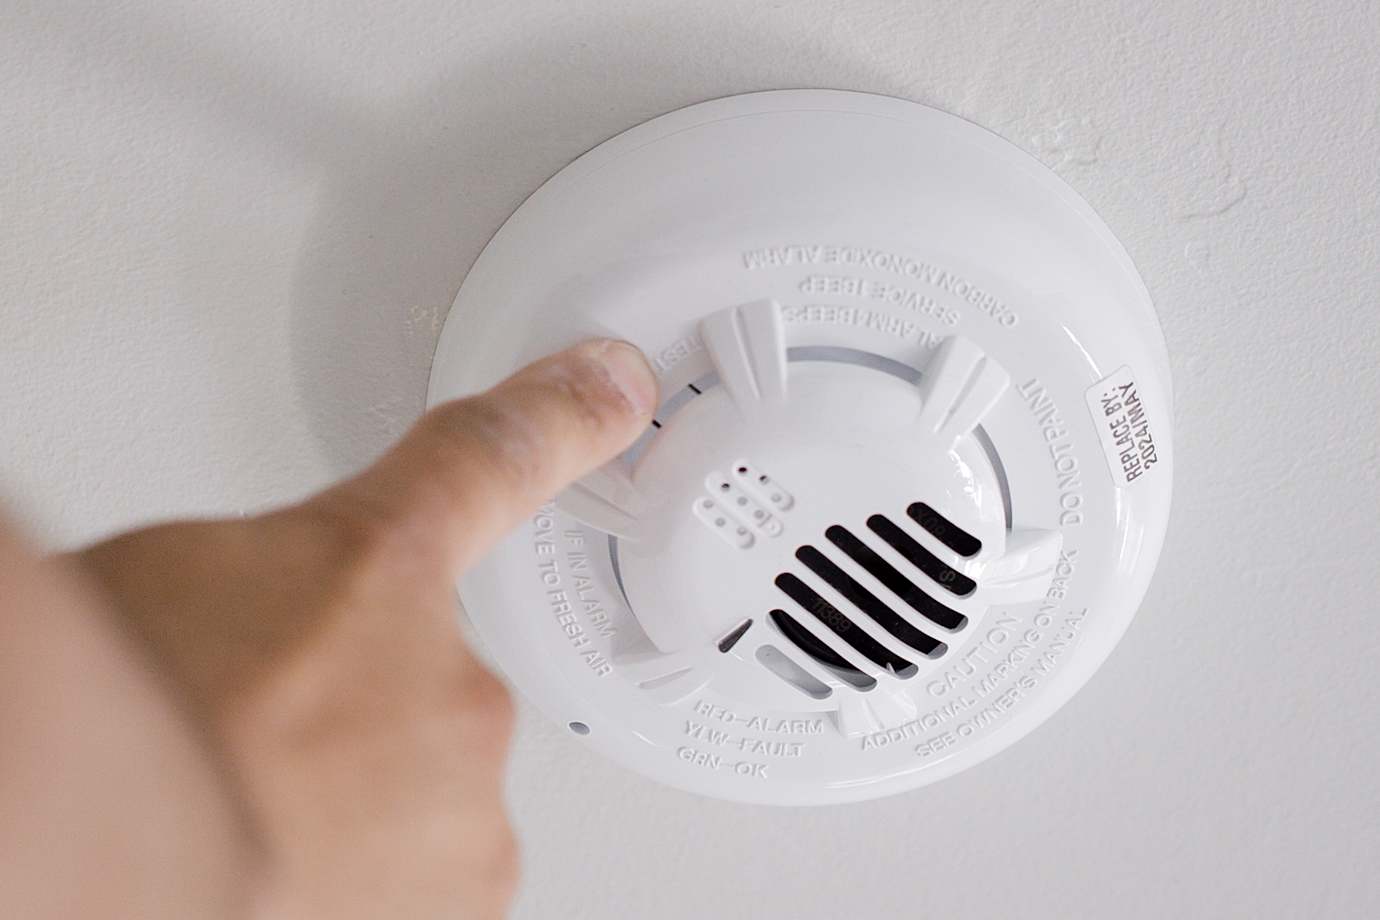
Your carbon detector alerts you to the presence of carbon monoxide in your home.
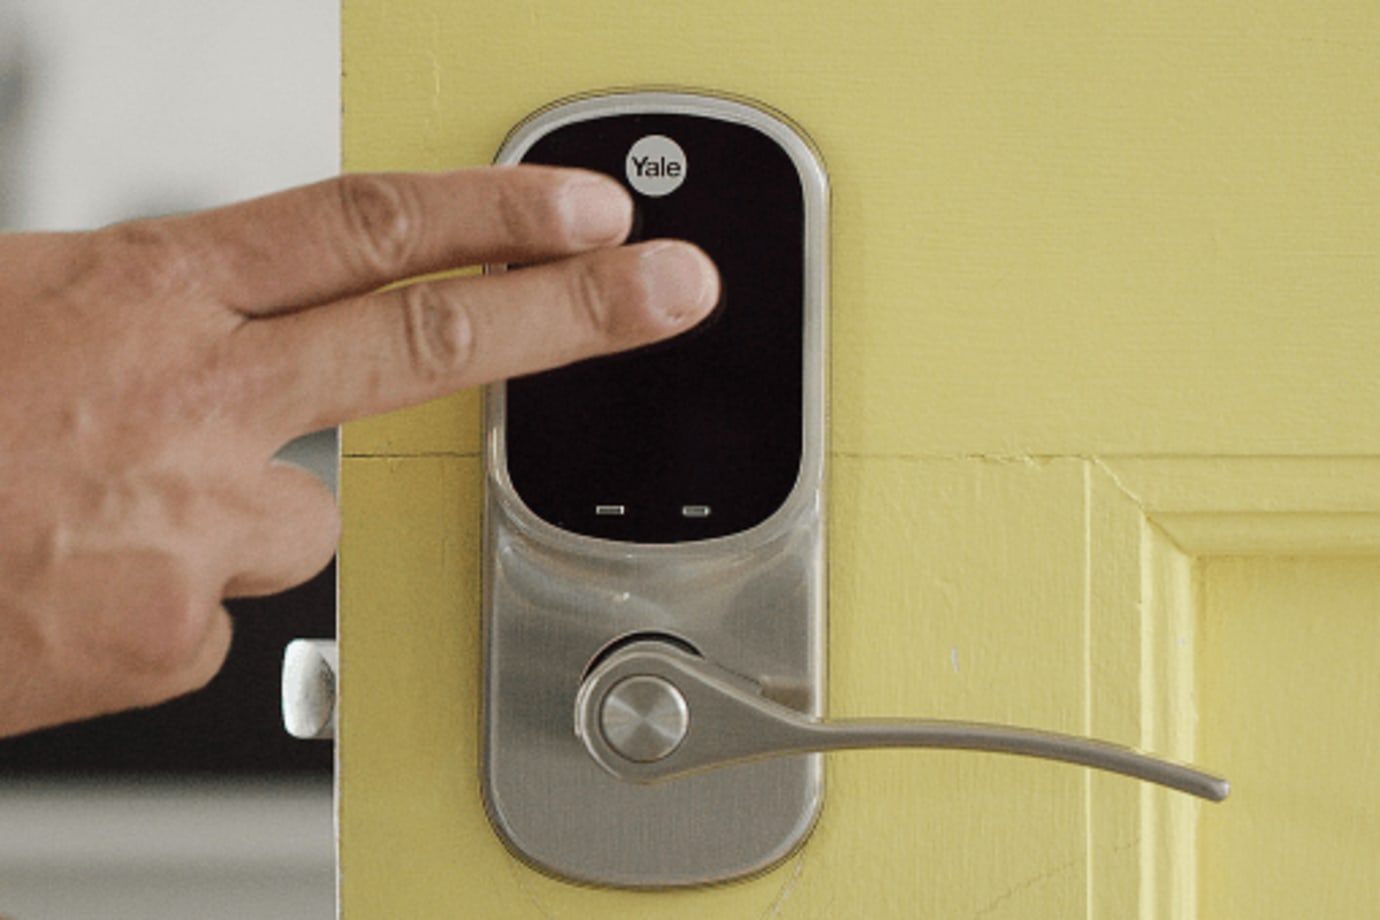
Your keyless Smart Door Lock with a lever lets you conveniently unlock and lock your door with a backlit touchscreen keypad, rather than having to carry around keys that can get lost.
