How to Pack a Cooler for a Road Trip
Keep your food dry and safely chilled, whether you’re going on a picnic or week-long trip.

It’s no fun to arrive at your destination and find a cooler full of soggy food that can potentially make you sick. A bit of planning and work in the days before your departure can help get you out the door faster and keep your food safe longer. Follow these steps to prepare, organize, and pack a cooler so it stays cold throughout your trip, keeping everything in top shape.
1. Prepare your cooler.
Cooler insulation absorbs heat, which means that ice will quickly melt if you pack it while it’s warm. If you store your cooler in a warm spot such as a garage or shed, bring it inside two days before you need it. Now’s also a good time to give it a good scrub. Use a mix of water and dish soap or vinegar to remove dirt, mold, or mildew. About 24 hours before you plan to leave, fill the cooler with several bags of sacrificial ice and water to pre-chill it.

Prep snacks and meals the night before so they can be fully chilled before going into the cooler.
2. Prep and refrigerate your food and drinks.
First, remove unnecessary packaging, including styrofoam and cardboard, to reduce weight and save space. Assume that store-bought packages will leak, and place any items that aren’t airtight into well-sealing food storage containers, jars, or plastic or silicone bags. Opt for the smallest containers possible to minimize air and increase contact with the ice. “We put raw meat in watertight Tupperware with a gasket to minimize contamination as things move around and melt,” says Megan McDuffie, co-founder of camp cooking site Fresh Off the Grid.
If potable water is scarce at your destination or if you’re planning to pull over and eat on the way, wash your fruits and vegetables and prep your snacks and meals as much as possible before packing them up.
Stash everything you plan to carry in the cooler in the fridge or freezer 24 hours before the trip. “Anything that we put in the cooler needs to already be cold,” McDuffie says. “The cooler is meant to keep things cold, not to get them cold.”
3. Pick the right size cooler.
You’ll need about two-thirds ice to one-third food and drinks to ensure that everything stays at or below the U.S. Food and Drug Administration’s 40 degree Fahrenheit recommendation, which is critical to prevent bacterial growth. You may need to change your cooler size or use more than one to get the ratio right.
The FDA recommends packing drinks in a separate cooler so your party can repeatedly open it without dinner getting too warm and going bad. If you’re traveling with kids, consider using a smaller cooler or lunch box for their snacks and drinks so they can easily help themselves. “A cooler’s ability to keep ice cold is a direct function of how many times you open it and how long you open it,” says Fresh Off the Grid co-founder Michael van Vliet.
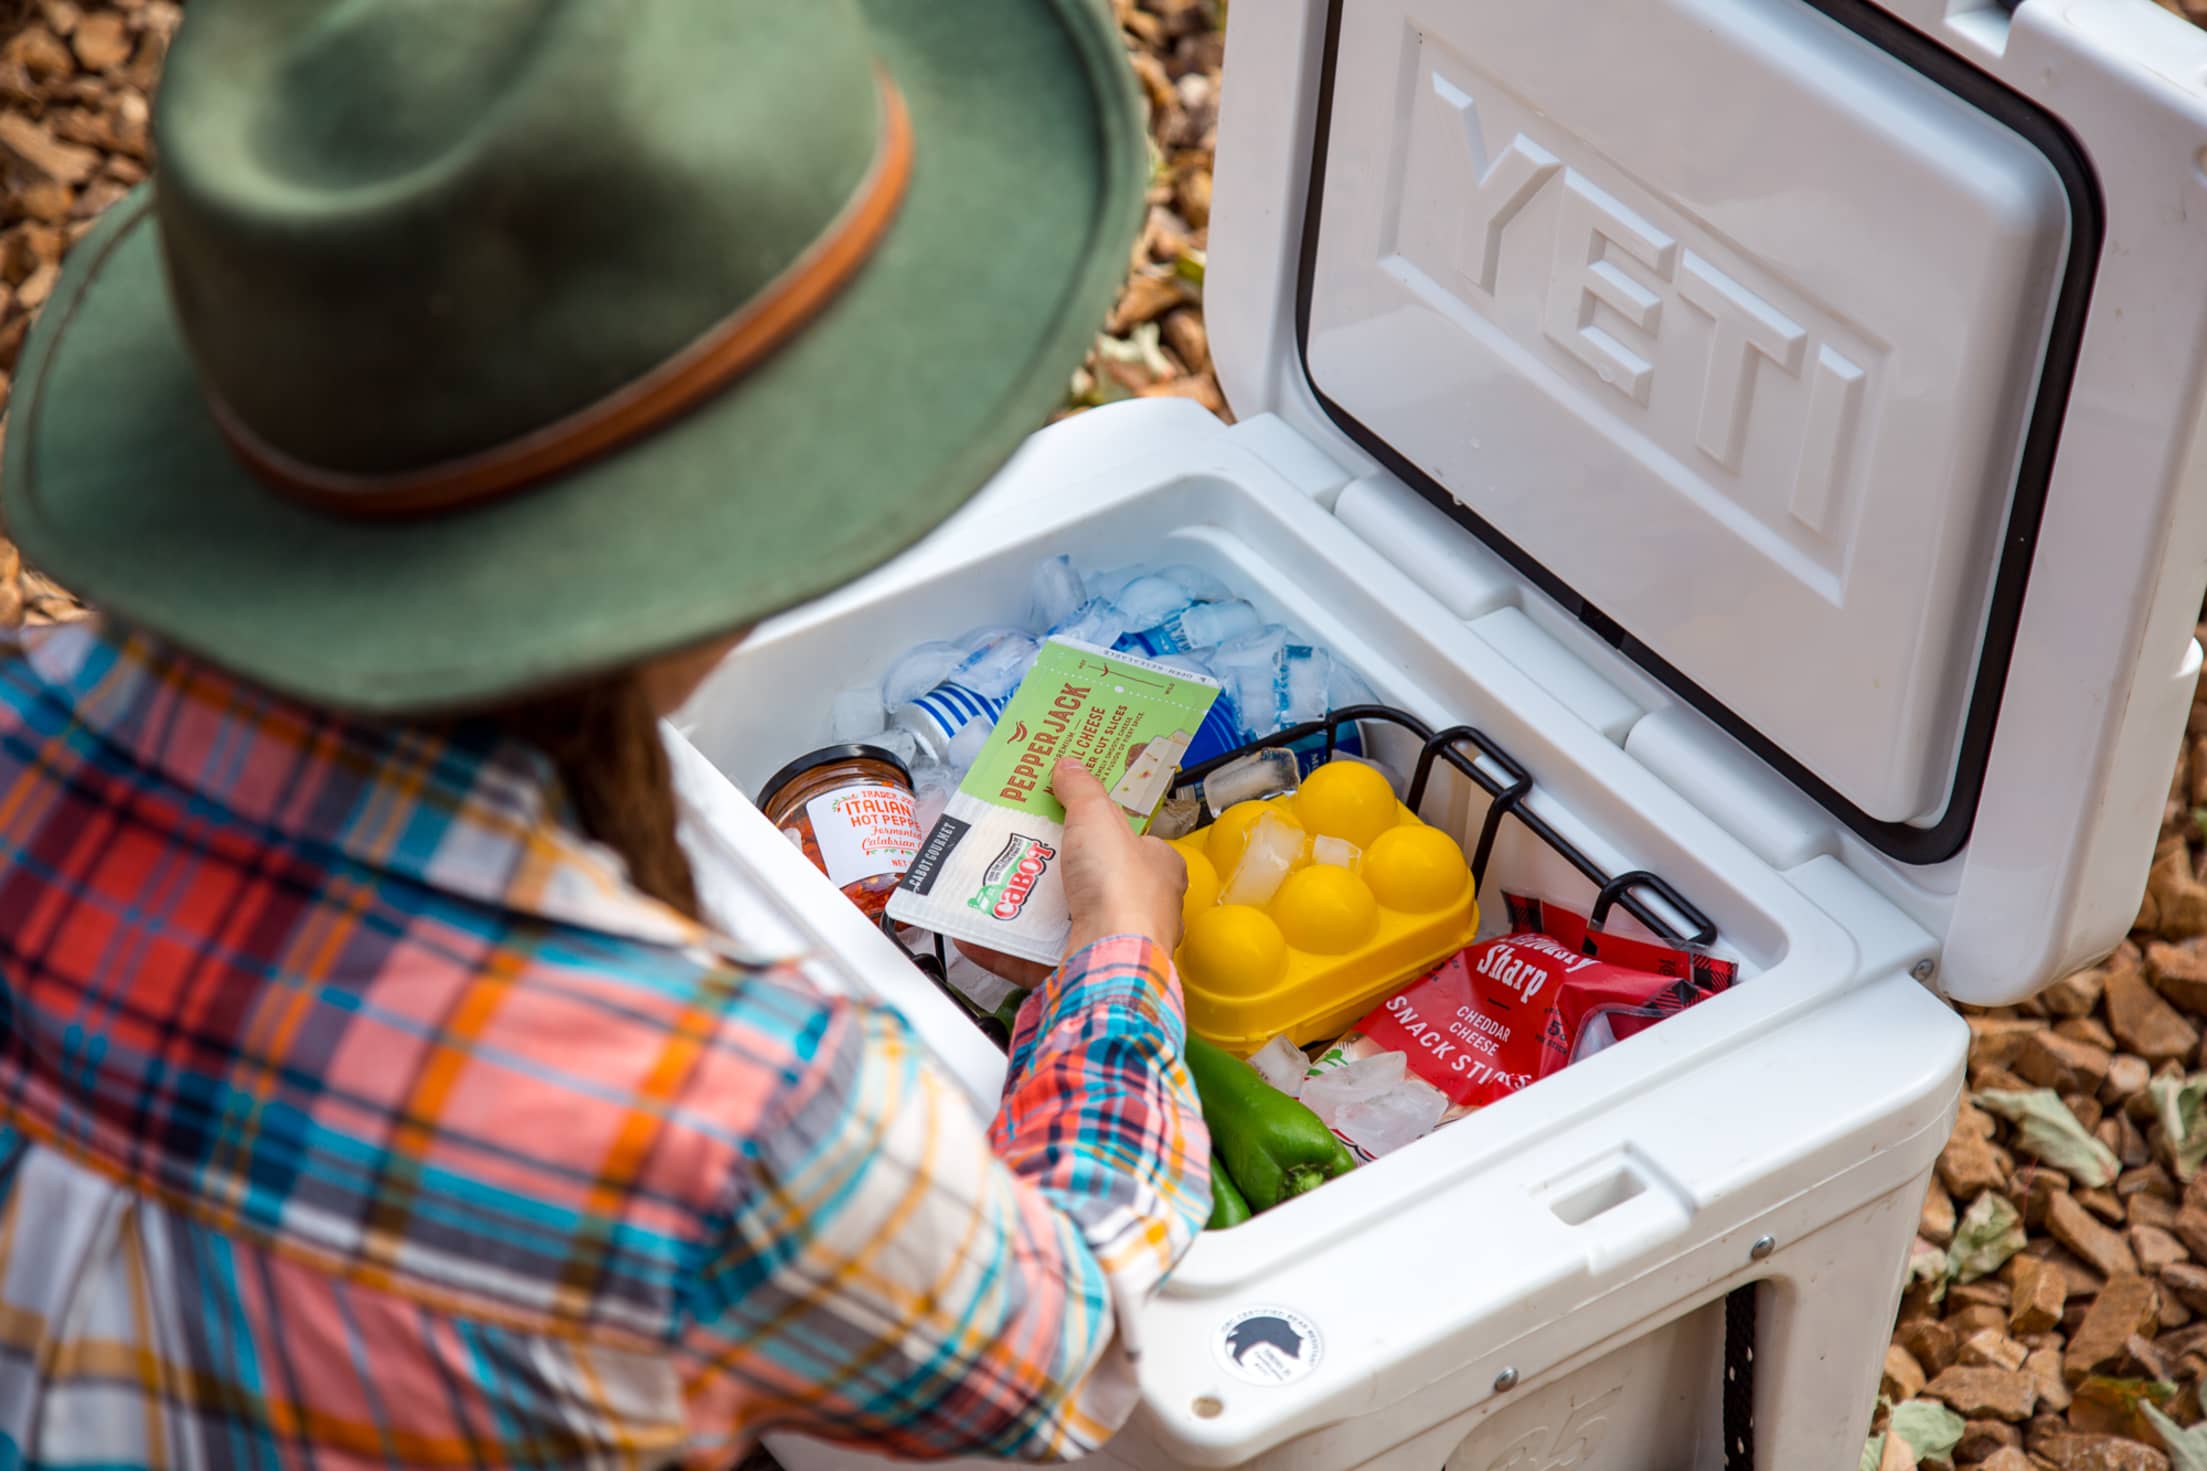
A wire basket and food storage containers can help you keep the cooler organized and sanitary.
4. Pack the cooler strategically.
Just before leaving, pour out the water and ice that had been sitting overnight. Before you add any food, cover the bottom of the cooler with fresh ice or ice packs. Anne Barnhorst, an avid road-tripper and an ambassador for Women Who Hike, recommends placing ice packs in a resealable plastic bag to prevent the chemicals inside from leaching into the rest of the cooler should they pop or leak.
Smart Tip: Save ice packs from meal kit services or grocery deliveries, or make ice blocks that melt slower than cubes. Cindy Villasenor, a master gardener and low-waste lifestyle advocate who regularly road trips and car camps in California, freezes water in bowls to maximize cooling, but you can also use plastic containers as molds.
Start with any meat and the items you won’t use in the near future and set them at the bottom of the cooler. Pack your items tightly to minimize air pockets, which can accelerate melting as the ice cools the space. Snacks or meals you’ll eat before you reach your destination should be close to the top to limit how much warm air gets inside and the amount of painful digging you have to do. Finally, place uncut veggies and bottled sauces in a wire cooler basket at the top to keep them out of the water and protect them from jostling.
Smart Tip: You can also freeze prepared meals ahead of time to help keep the temperature steady and save you time.
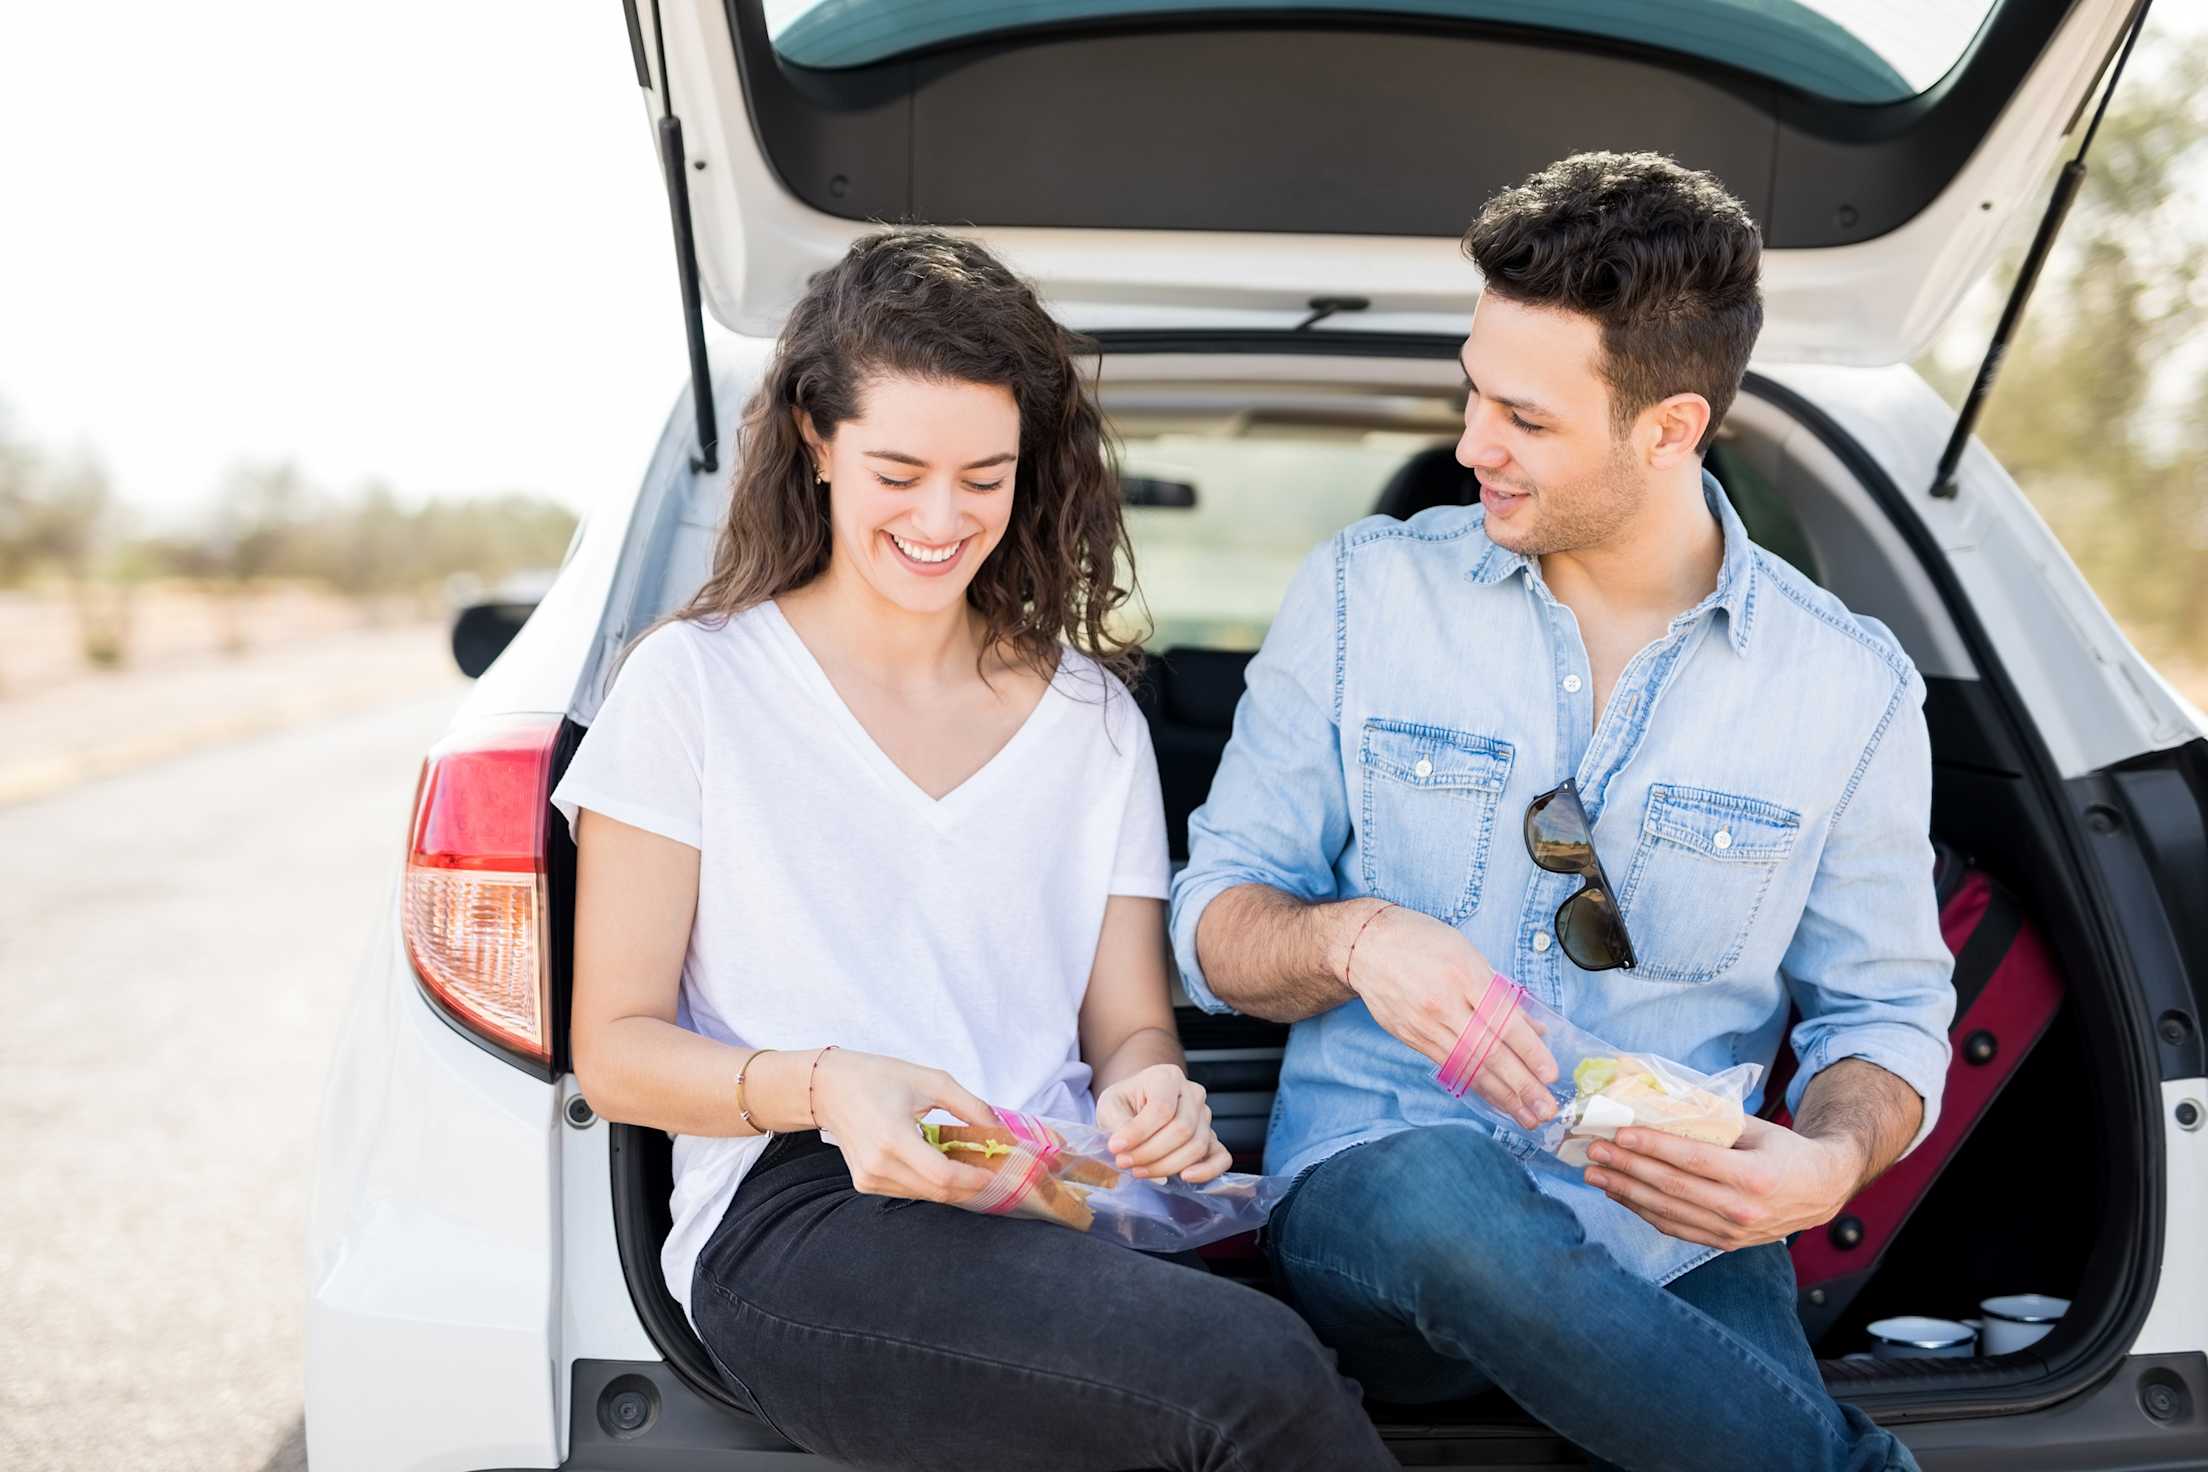
Keep snacks and meals you're planning to eat on the road at the top so you can get in and out of the cooler quickly.
5. Put the cooler in the car last.
While packing the car, leave room to slide the cooler in just before you drive off. Until then, keep it inside the house or garage to extend the life of the ice. If you’re worried about leaving the cooler behind, you can put a sticky note on the steering wheel or leave your keys on the lid to help you remember.
6. Make adjustments as needed.
While driving, keep the cooler out of direct sunlight inside the air-conditioned vehicle. At a picnic spot or campsite, stash it under a table or in another shady area to slow heat gain, if possible. (Follow bear-proofing procedures designated by the campground.) If you’re staying in a hotel without a refrigerator, bring the cooler inside to take advantage of the chilled air.
Smart Tip: For longer trips, consider using a small fridge thermometer to check that your food is safely staying below 40 degrees.
After several days, the ice will melt and leave inches of water at the bottom of the cooler. If you don’t have access to more ice, leave the water. If you can pick up another bag or two, fully drain the cooler before adding new ice so the liquid doesn’t immediately encourage melting.