Step-By-Step Guide to Starting a Vegetable Garden
From small containers to raised beds, transform your outdoor space into an edible oasis.

Juicy strawberries, sweet peas, and tender zucchini are just some of the delights an edible garden can bring. It’s empowering to grow the foods you enjoy the most, and it can ease worries about the supermarket running out of produce. Planting and tending a vegetable garden is also usually cost-effective and an enjoyable pastime.
“It's a pleasurable thing to be outside,” says Leslie Wiser, owner and operator of Radical Family Farms, a 1.5-acre farm in Sonoma County growing Asian heritage vegetables, herbs, and flowers.
But as with any big project, getting started can feel intimidating. Follow this straightforward guide to plant a thriving vegetable garden.

Keep sunlight in mind when staking out your future garden.
Step 1: Choose your spot.
You don’t need much—if you have a small amount of outdoor space, you can grow vegetables. Raised beds and tidy plots are great, but many edibles—including lettuce, herbs, and tomatoes—can flourish in containers on a balcony or patio.
When it comes to location, sunshine is the most important factor to consider. “You need a minimum of six hours [of sunlight],” Wiser says, “but you want as much sun as possible.”
Extreme heat is hard on plants, says Kevin Erdmann, certified nursery professional and master gardener with Phoenix’s Berridge Nurseries. “In cooler climates, such as Montana and higher elevations of Arizona, Utah, and Nevada, vegetable beds or pots can go out in the sun, well away from trees or buildings that might shade them,” Erdmann says. In hot climates—where temperatures reach 105° Fahrenheit in the summertime—plants require afternoon shade.
Step 2: Test your soil.
Veggies thrive in well drained, nutrient-rich soil. “Western soils are nutrient poor, and sometimes highly alkaline, which locks up some nutrients,” Erdmann says.
The best way to know the state of your soil is to send a sample to a professional lab or to test it with an at-home kit from a garden center or hardware store. Doing so reveals the nutrients and pH of your soil. If your soil isn’t ideal, Erdmann recommends you either:
- Improve the existing soil with a four-inch layer of compost and organic plant foods. “Till all of that into the top foot of soil, put down an inch or two of organic mulch, water deeply to settle everything down, and let it sit for two weeks [before planting],” Erdmann says. Revitalizing your existing soil is the most sustainable and low maintenance option.
- Plant in raised beds or containers filled with new potting soil.
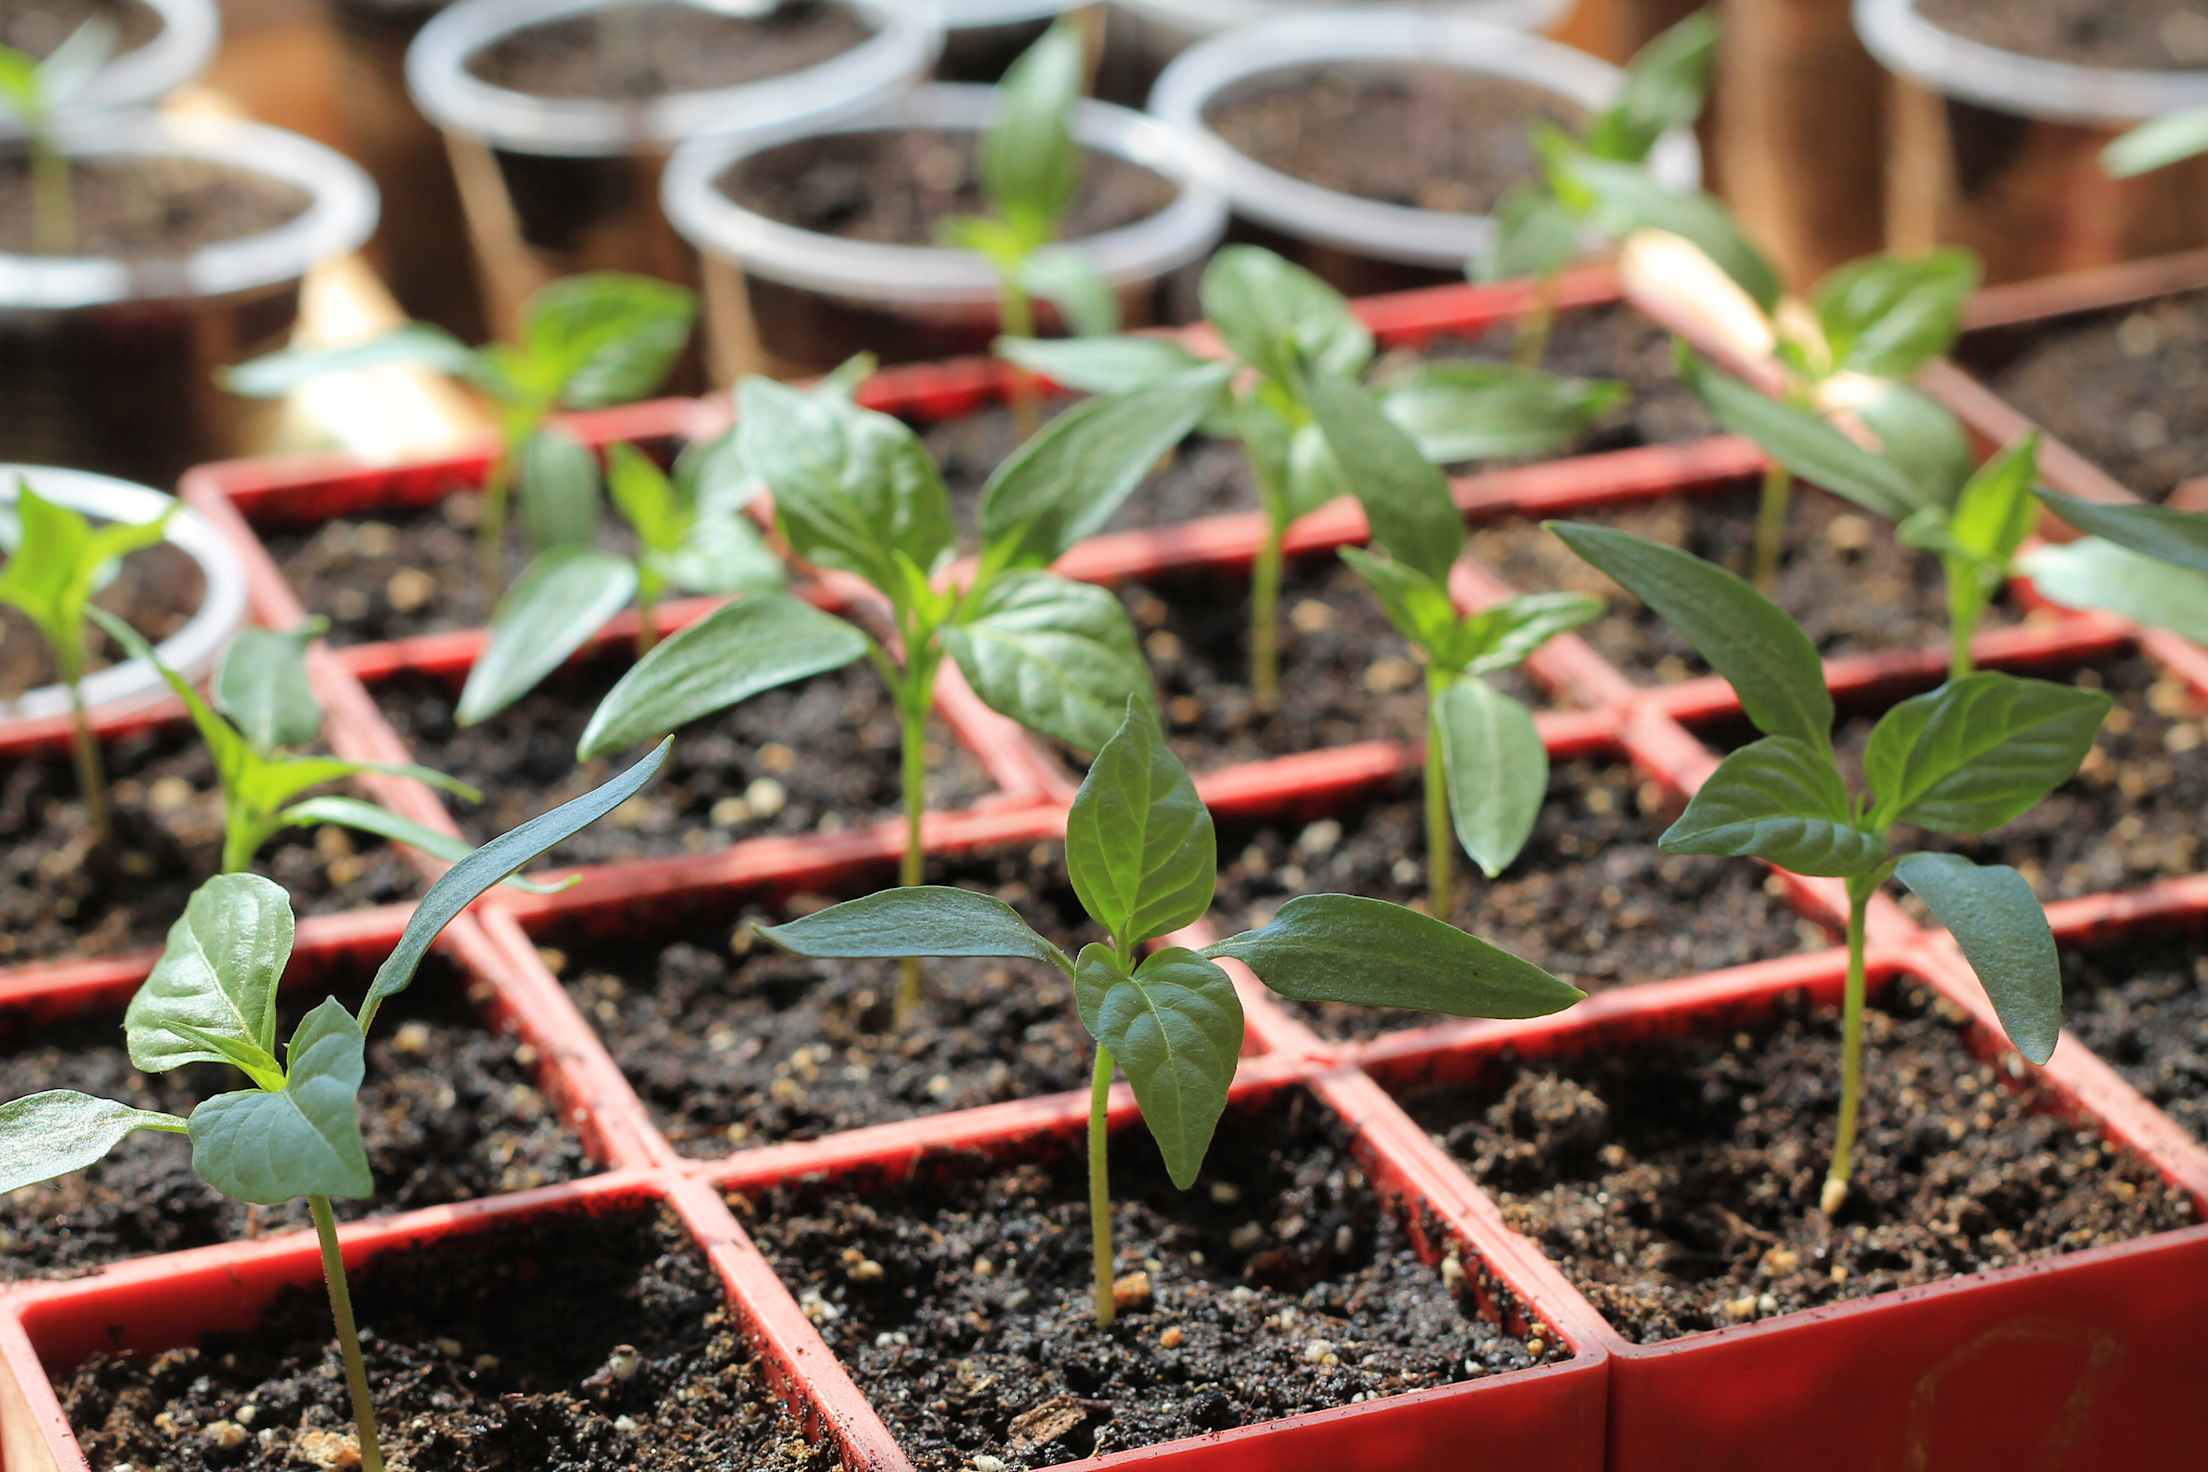
Young plants—or starts—can be easier for new gardeners to plant.
Step 3: Pick your plants.
The catalogue of seeds and plants can be overwhelming. Only choose a few varieties to start, and prioritize vegetables you enjoy eating, recommends Claire Splan, author of California Fruit & Vegetable Gardening.
Along with your personal preferences, keep your climate—and the season—in mind. Take note of edibles that delight in direct sunlight and those that grow well in partial sun or shade.
In the Bay Area and southern Arizona and Nevada, you can grow veggies year round. Opt for root crops and greens in the fall, and fruiting vegetables (think tomatoes, squash, and melons) in the summer, Erdmann says. In a cooler climate, such as Montana, plant fast-maturing warm season crops early in spring when there is no longer a risk of frost, and then get cool season veggies, such as broccoli and kale, in the ground so they can mature by fall, Erdmann says.
While you can go for either young plants or seedlings, beginners might find young plants the easier option. “Seeds make stronger, more productive plants in the long run, but may be more difficult and time-consuming to start,” Erdmann says.
Keep your climate in mind when buying seeds or seedlings.
Good Vegetables for Your First Garden
Along with tomatoes, Splan recommends growing cut-and-come-again lettuce mixes. “You give them a little haircut and they keep coming back,” she says.
Erdmann recommends the following vegetables for the warm season:
- Bush bean
- Black-eyed peas
- Cantaloupe
- Cucumber (Spacemaster, a compact variety)
- Eggplant
- Herbs: Basil, chives, and lemon balm
- Peppers: Serrano, marconi, and sweet banana
- Squash: Cocozelle
- Tomatillo
- Tomatoes: Cherry tomatoes, grape tomatoes, and pear tomatoes
And these picks for the cool season:
- Arugula
- Bok choy
- Broccoli raab
- Chamomile: German
- Carrot: Chantenay, a variety that grows just a few inches in length
- Collards
- Fennel
- Green onions
- Herbs: Dill, oregano, thyme, parsley, and borage
- Kale
- Kohlrabi
- Mustard greens
- Radish
- Sugar snap peas
- Swiss chard
Smart tip: Opt for smaller varieties of vegetables, such as cherry tomatoes and mini-carrots, if you’re tight on space or growing in containers.
Step 4: Organize the space.
Before you purchase plants or seedlings, sketch out a garden plan, keeping in mind the recommended space that’s listed on each seed packet or pot. Place tall plants strategically so they won’t cast shadows over more petite varieties, and pay attention to how the sunlight and shade change throughout the day to ensure each plant gets the light it needs.
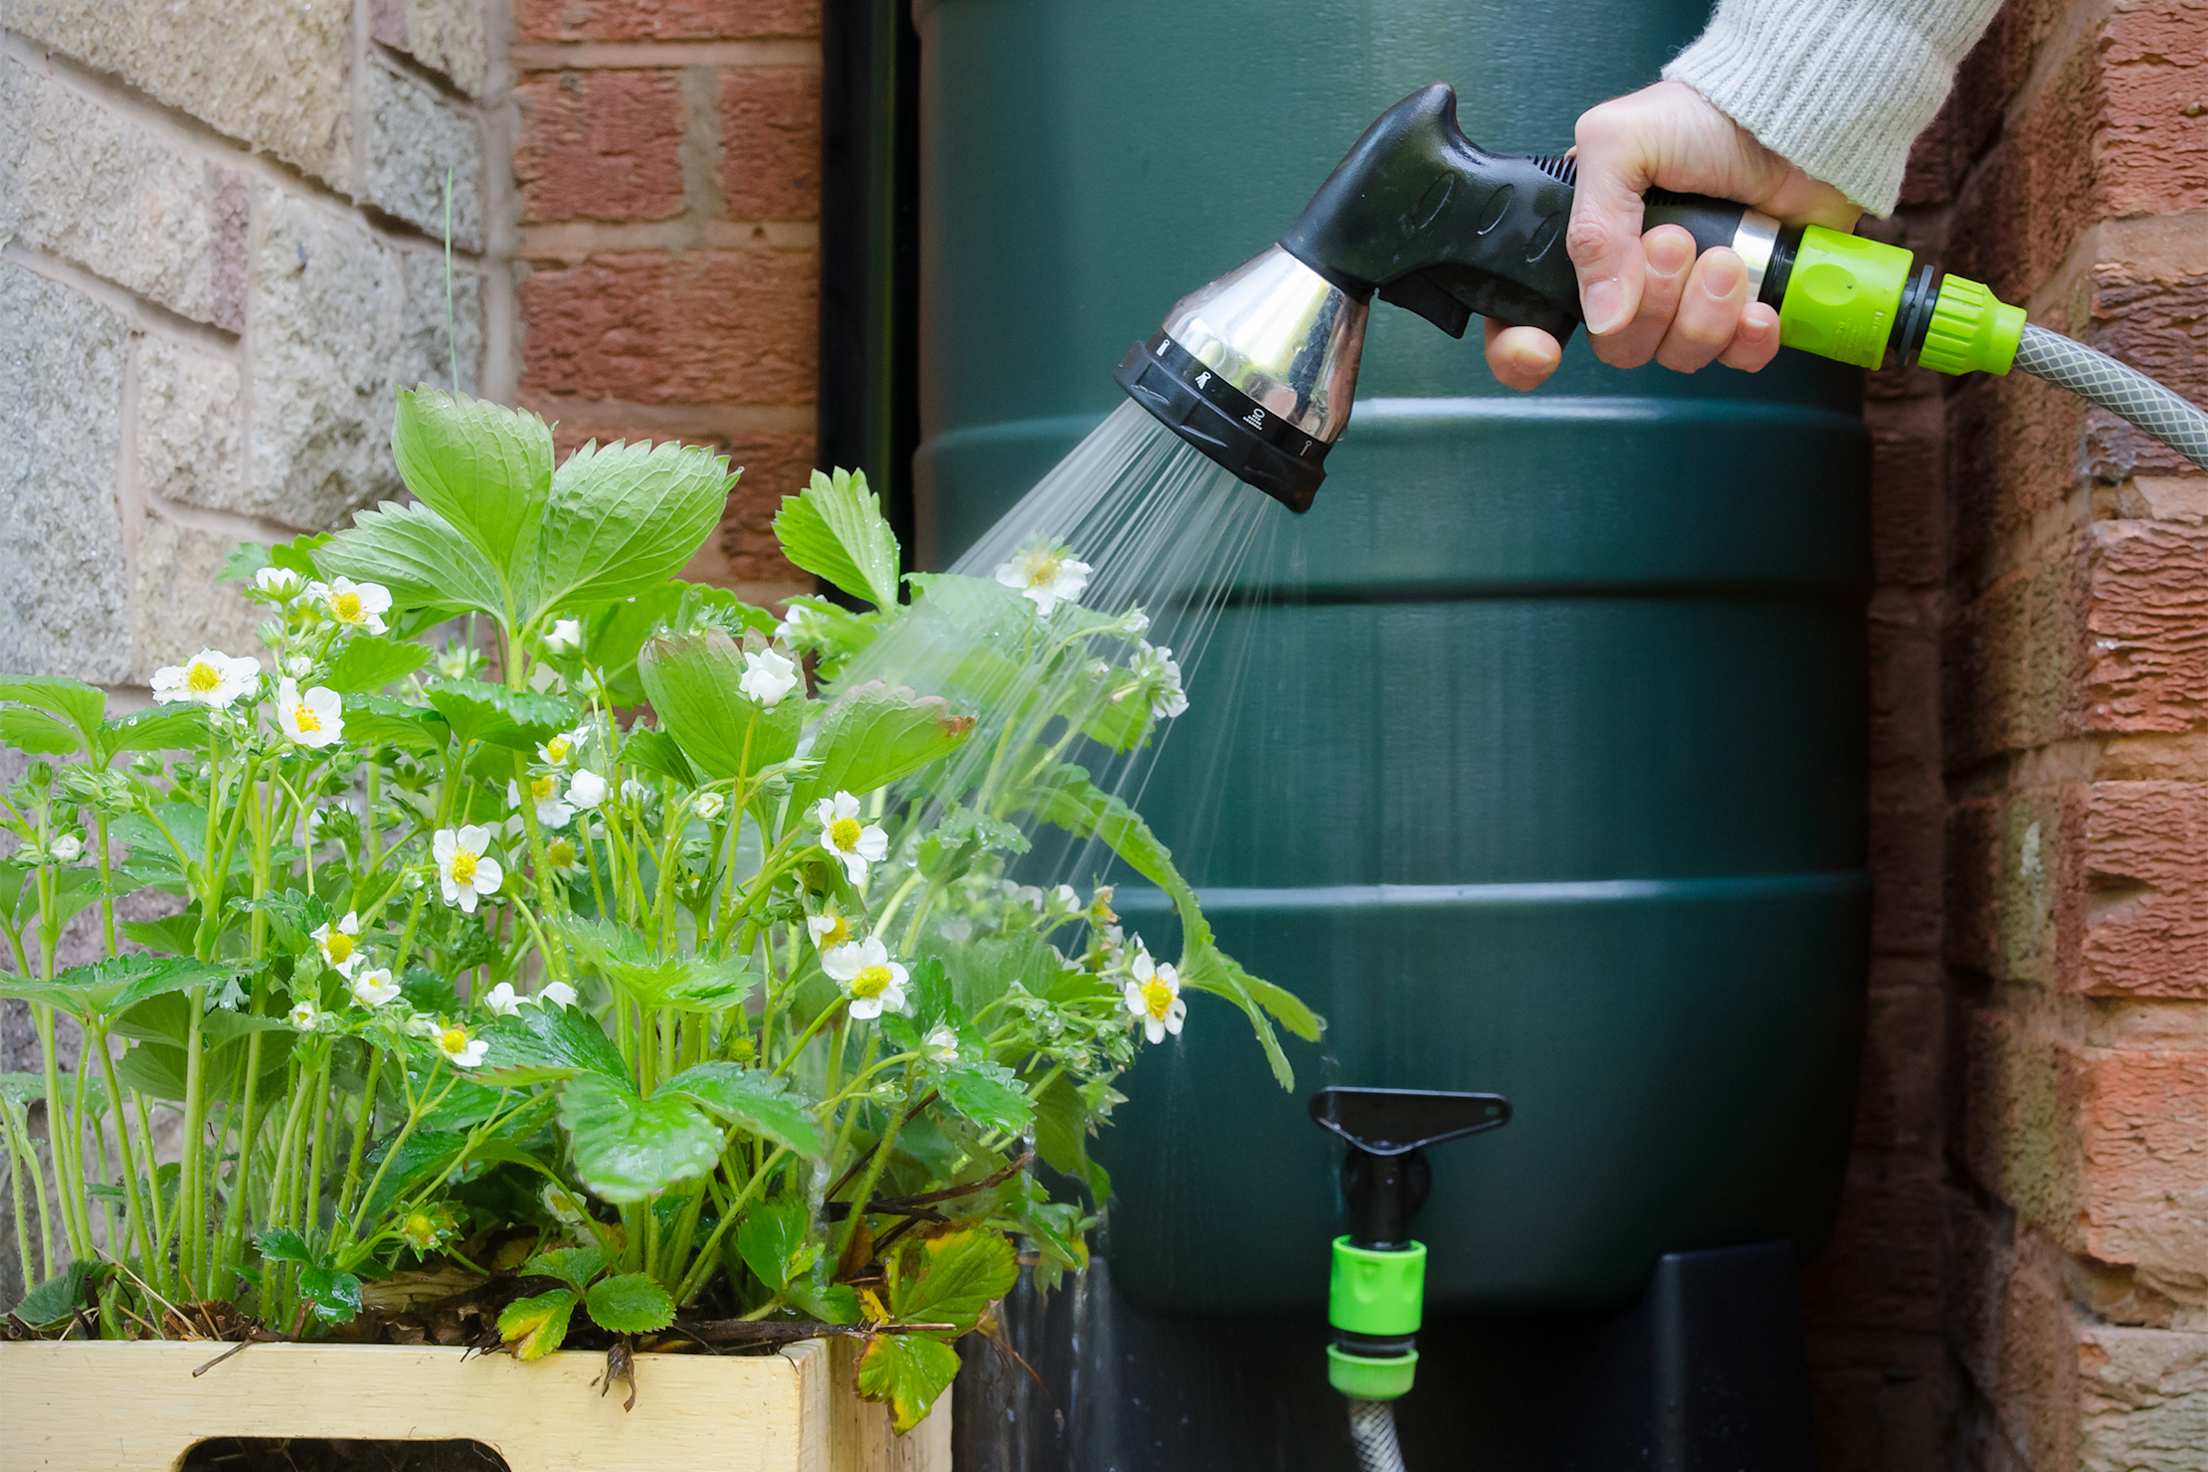
Rain barrels and drip irrigation can help your plants thrive with minimal water usage.
Step 5: Water wisely.
Once you’ve broken ground, provide your plants with what they need to flourish: water and food. “Water is a precious resource,” Splan says. “You will get the best success and the best water efficiency if you have a drip irrigation system or soaker hoses.”
If you’re watering plants in containers, saturate the soil until the water runs out the drainage hole, Erdmann says. During the summer, you’ll likely need to water containers once or twice a day, but in cooler climates, you can water two to three times a week.
Smart tip: In the West, the combination of heat and heavy watering strip nutrients such as nitrogen from the soil. “The simplest way to deal with that is to pick an organic plant food for vegetables, and top dress with it monthly, following package directions,” Erdmann says.
Mulch around your plants, too—this will reduce water evaporation and cut down on weeds, Splan says.
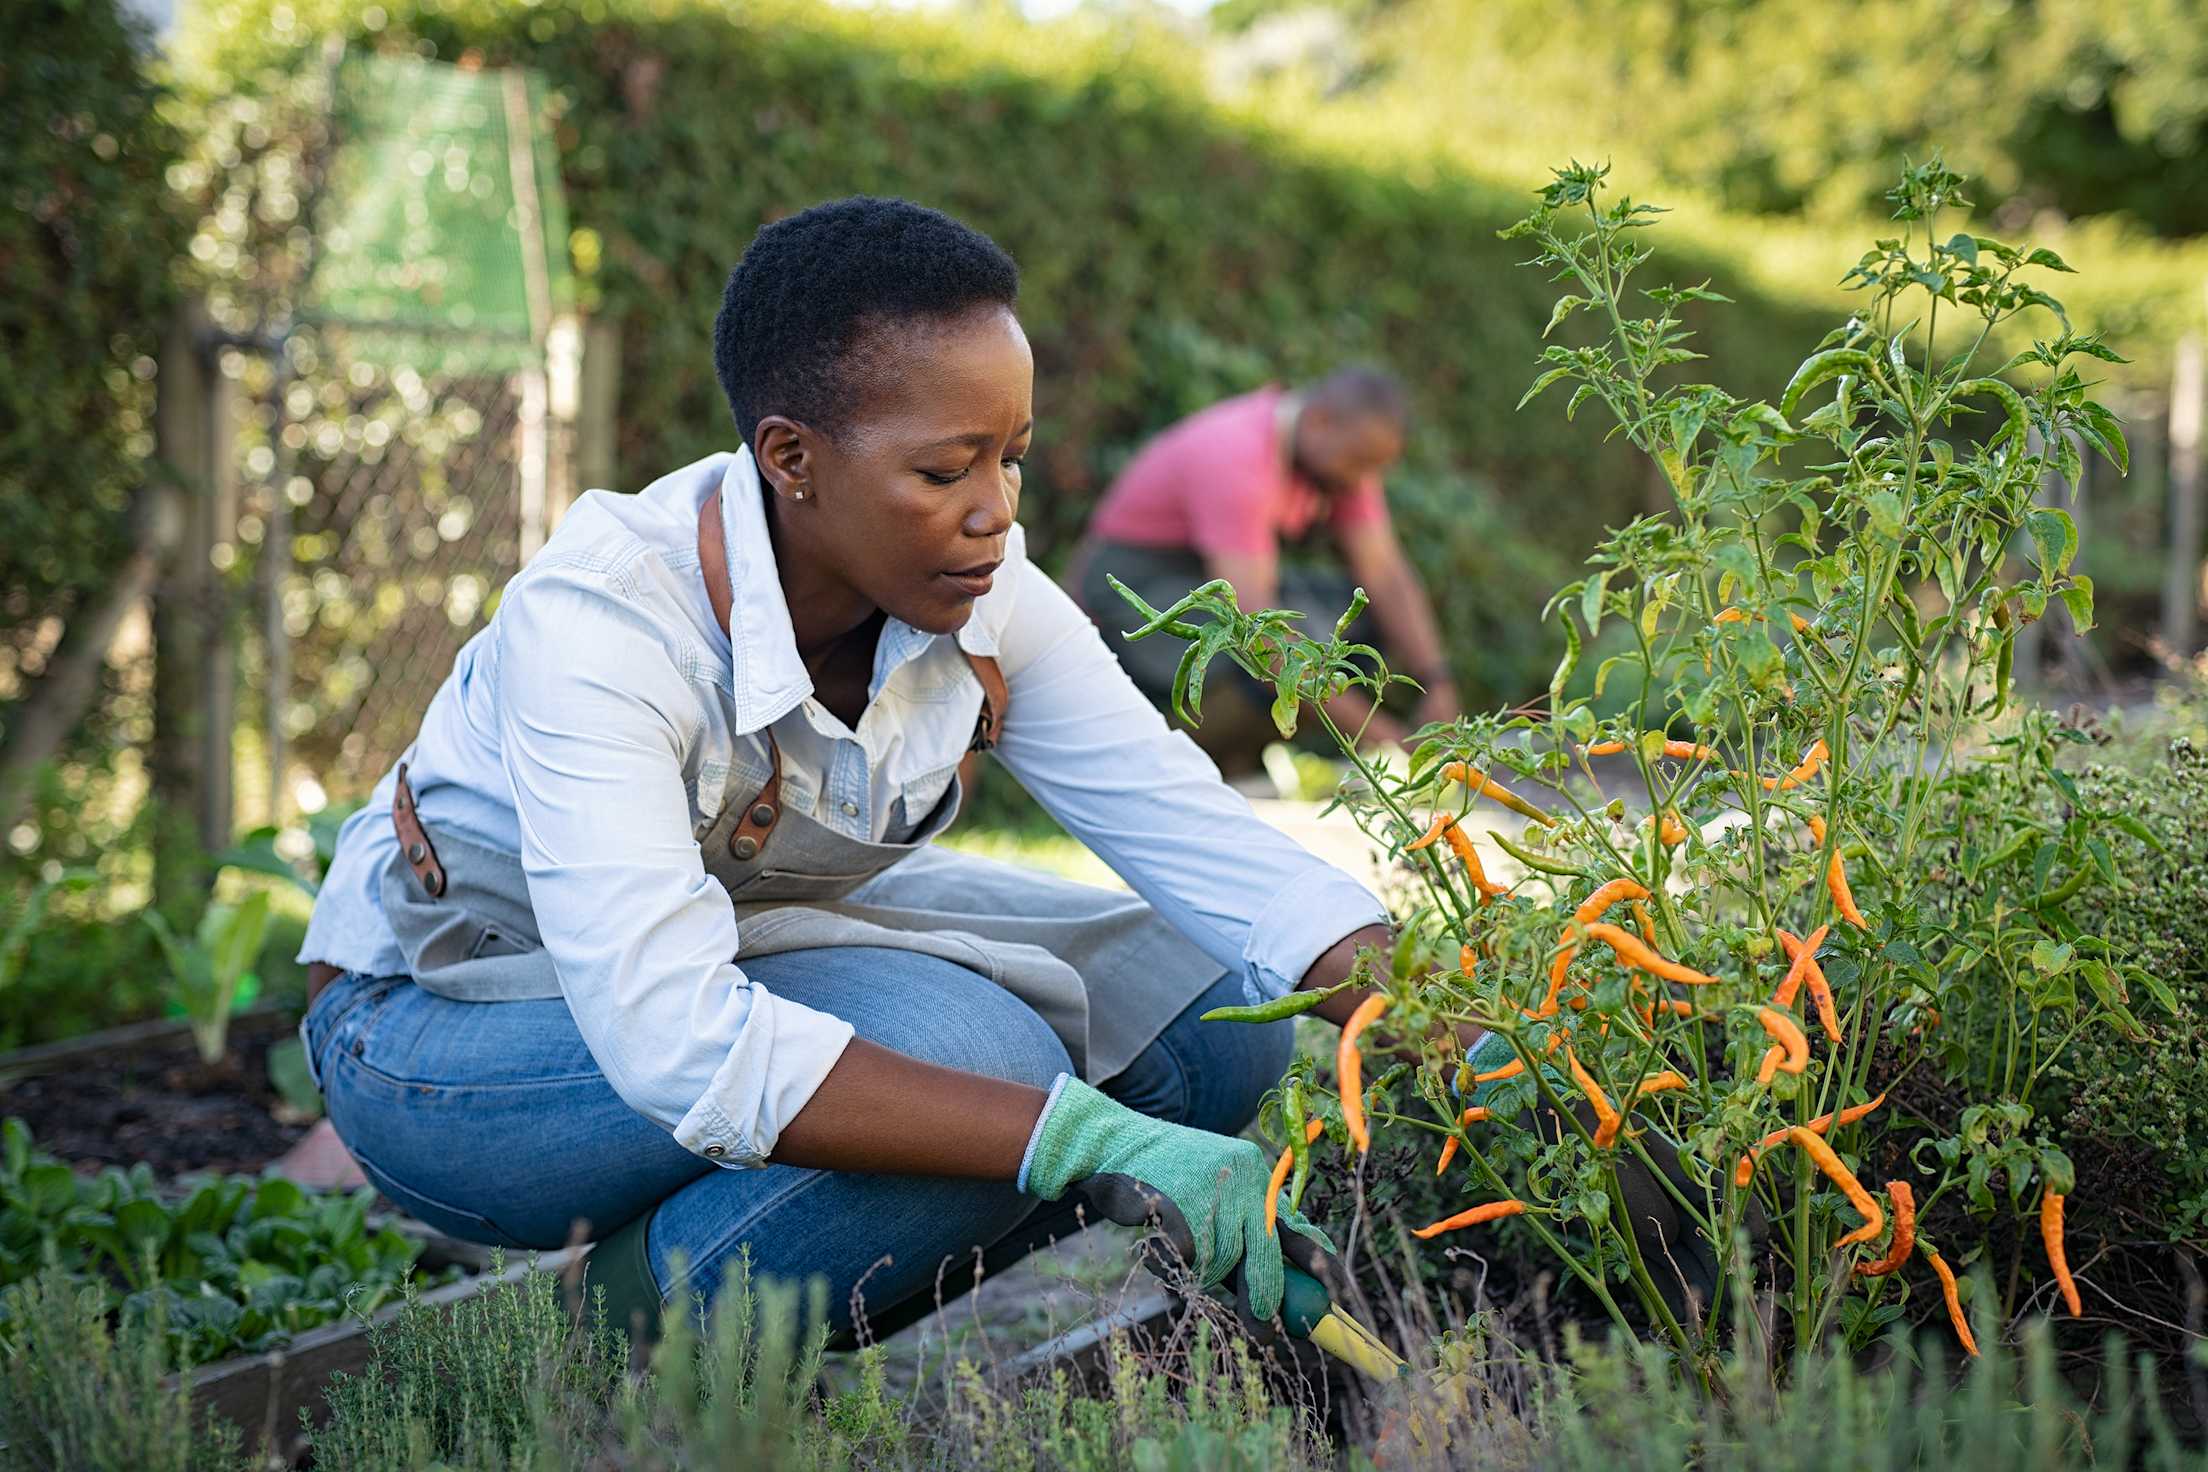
Step 6: Prevent pests.
To keep pests at bay:
- Shower plants with water weekly. This will remove pests, wash off spores of powdery mildew, and encourage the insects you want in your garden, Edrmann says.
- Plant some flowers. This will attract beneficial insects, such as hoverflies, aphid-eating wasps, caterpillar-eating wasps, and so on. Marigolds provide natural pest protection, and alyssum will ensure that pollinators visit your garden, Wiser says.
- Encourage earthworms. Mulch will help create the environment they desire, and once in place, they’ll repel pests, Erdmann says.
If you’re worried about wildlife, try planting a little extra. “Plant enough so that the squirrels can have their take. You don’t want to completely discourage wildlife, but they can certainly raid things,” Splan says. You can also use chicken wire or mesh fencing to keep out critters.
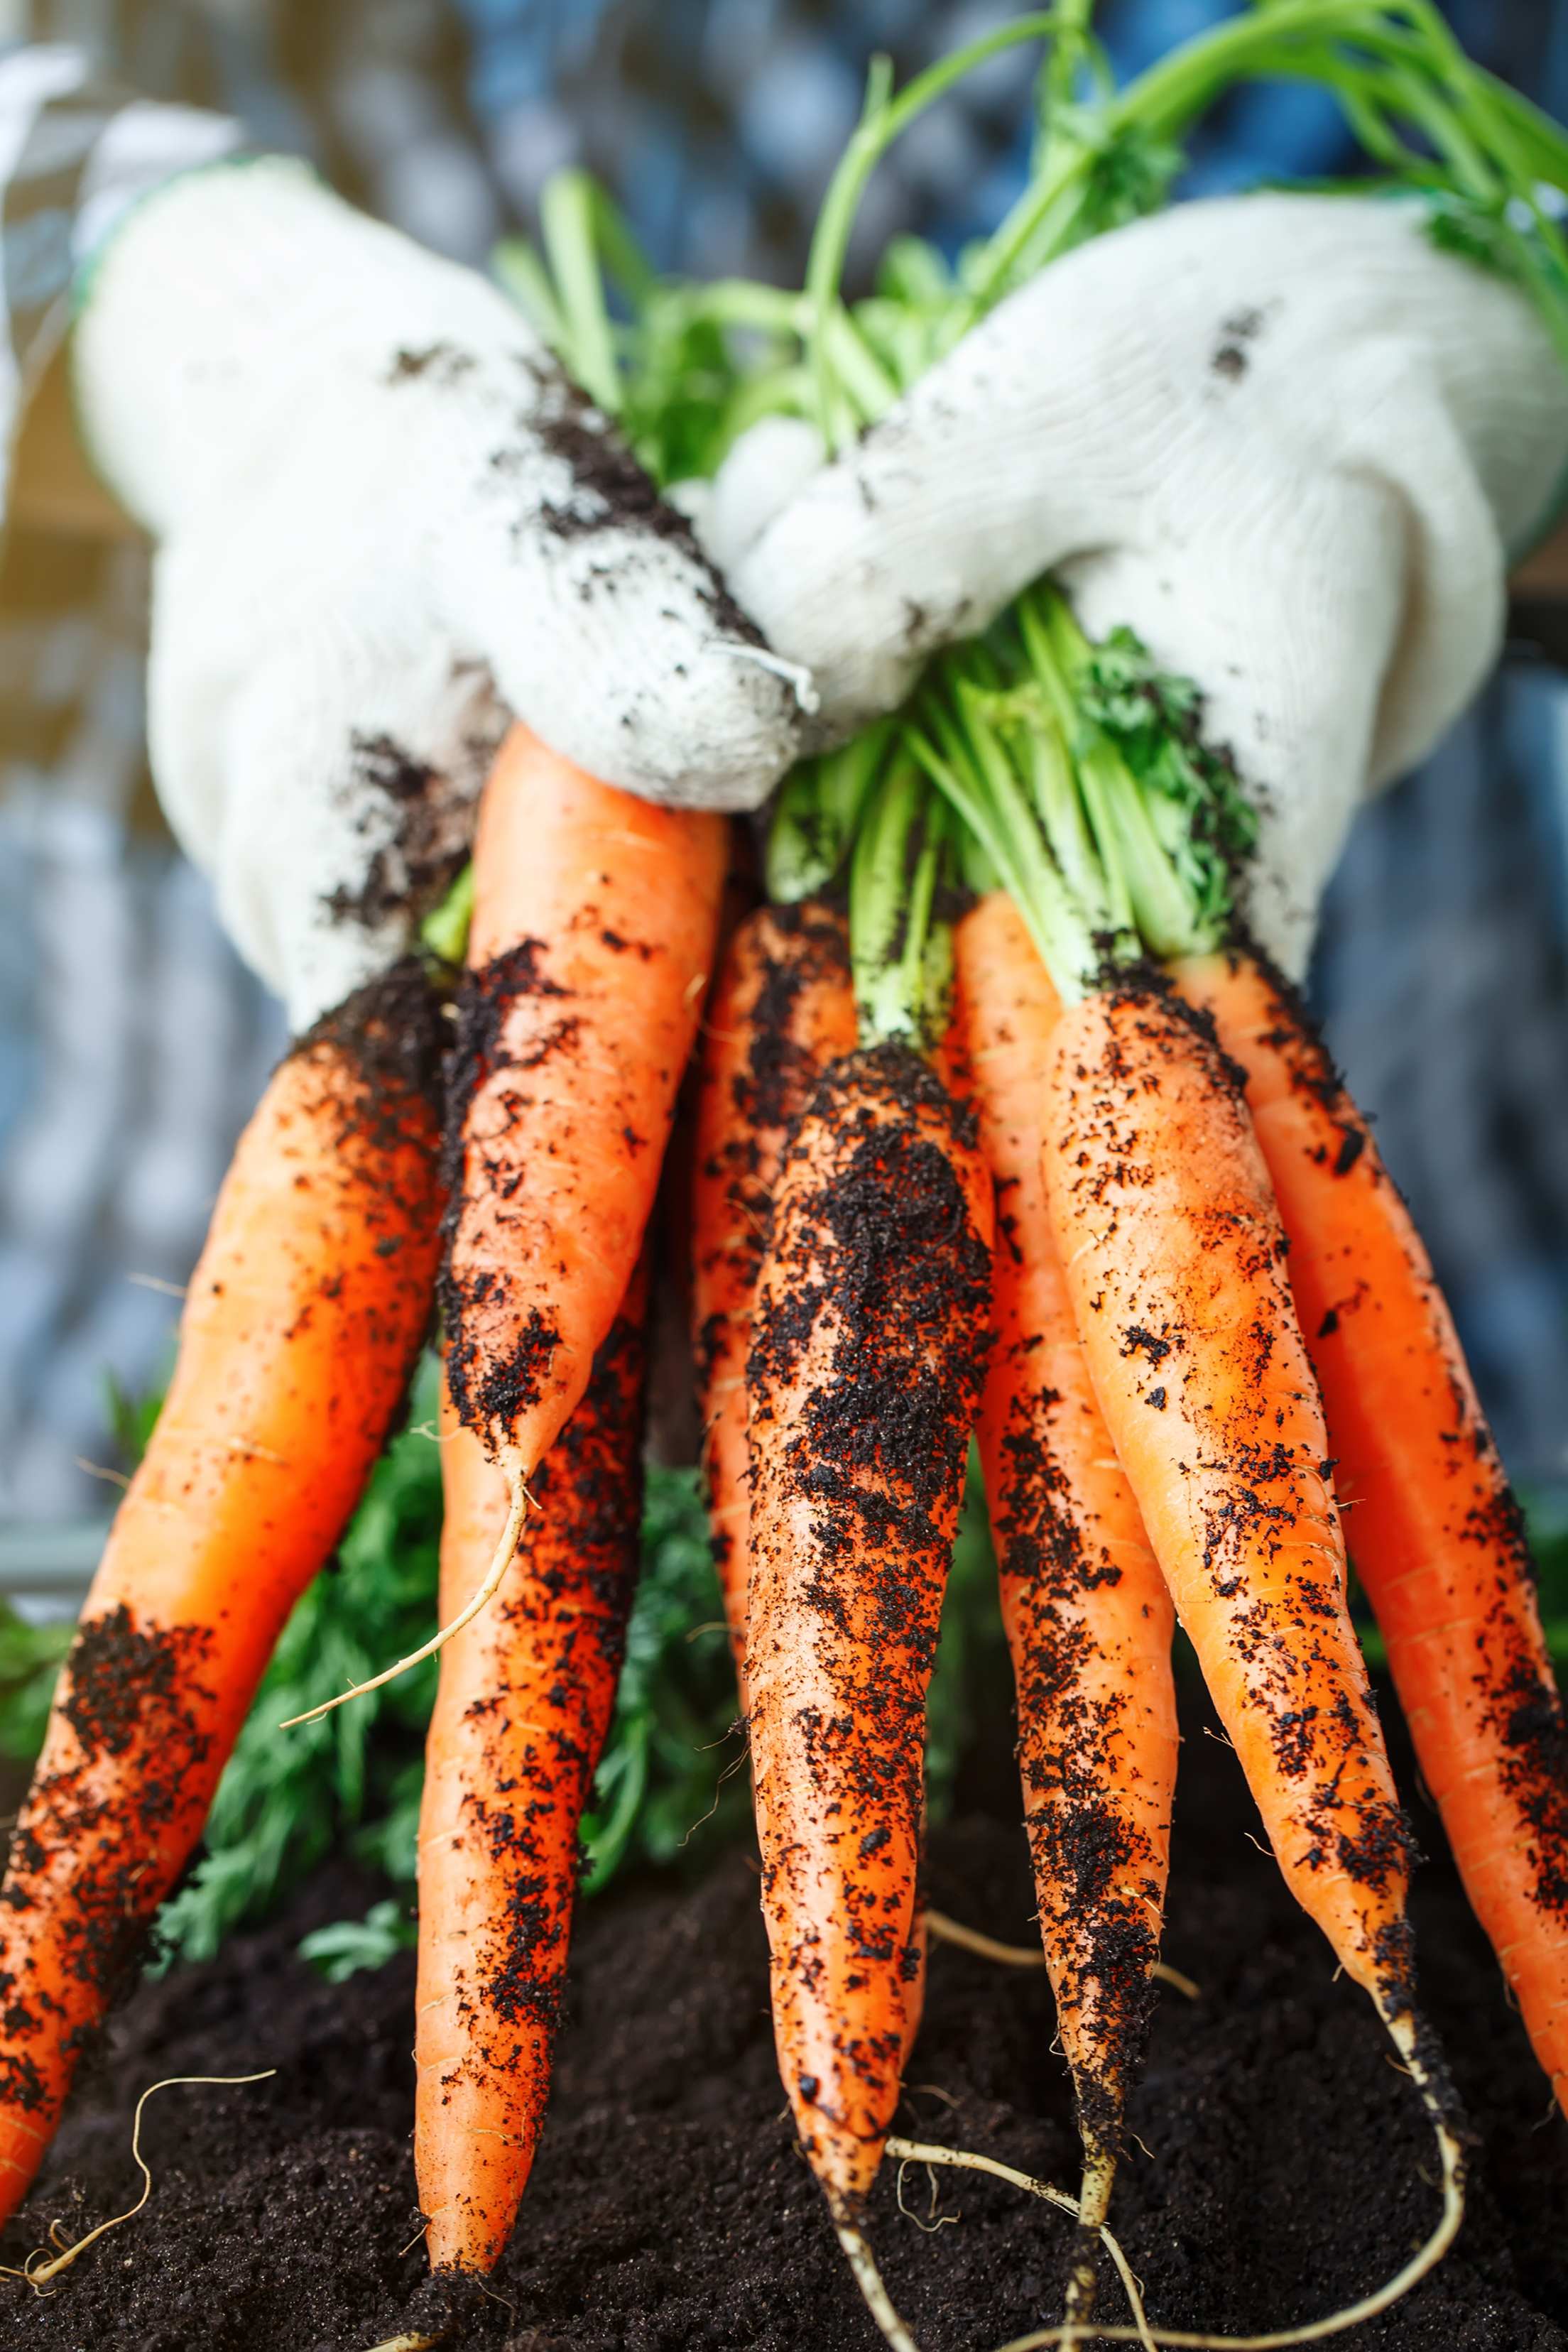
Enjoy the fruits of your labor.
Step 7: Harvest your veggies.
Get ready for bumper crops! Since there’s so much variety in when and how to harvest vegetables, it’s best to look up the specifics for the edibles you plant.
If you find yourself with questions, reach out to experts at your county extension office or to master gardeners in your area for help, Splan says. Your local nursery also will have info about everything from what’s good to plant in your area to how to harvest it.
Most of all, enjoy the experience, even if things don’t go according to plan. A garden is not a place to seek perfection—especially on your first attempt, Splan says. “Don’t be afraid of things failing,” she says. That’s a sign that you’re experimenting and learning. After all, a packet of seeds is a small investment and full of potential.